The Learning Workspace
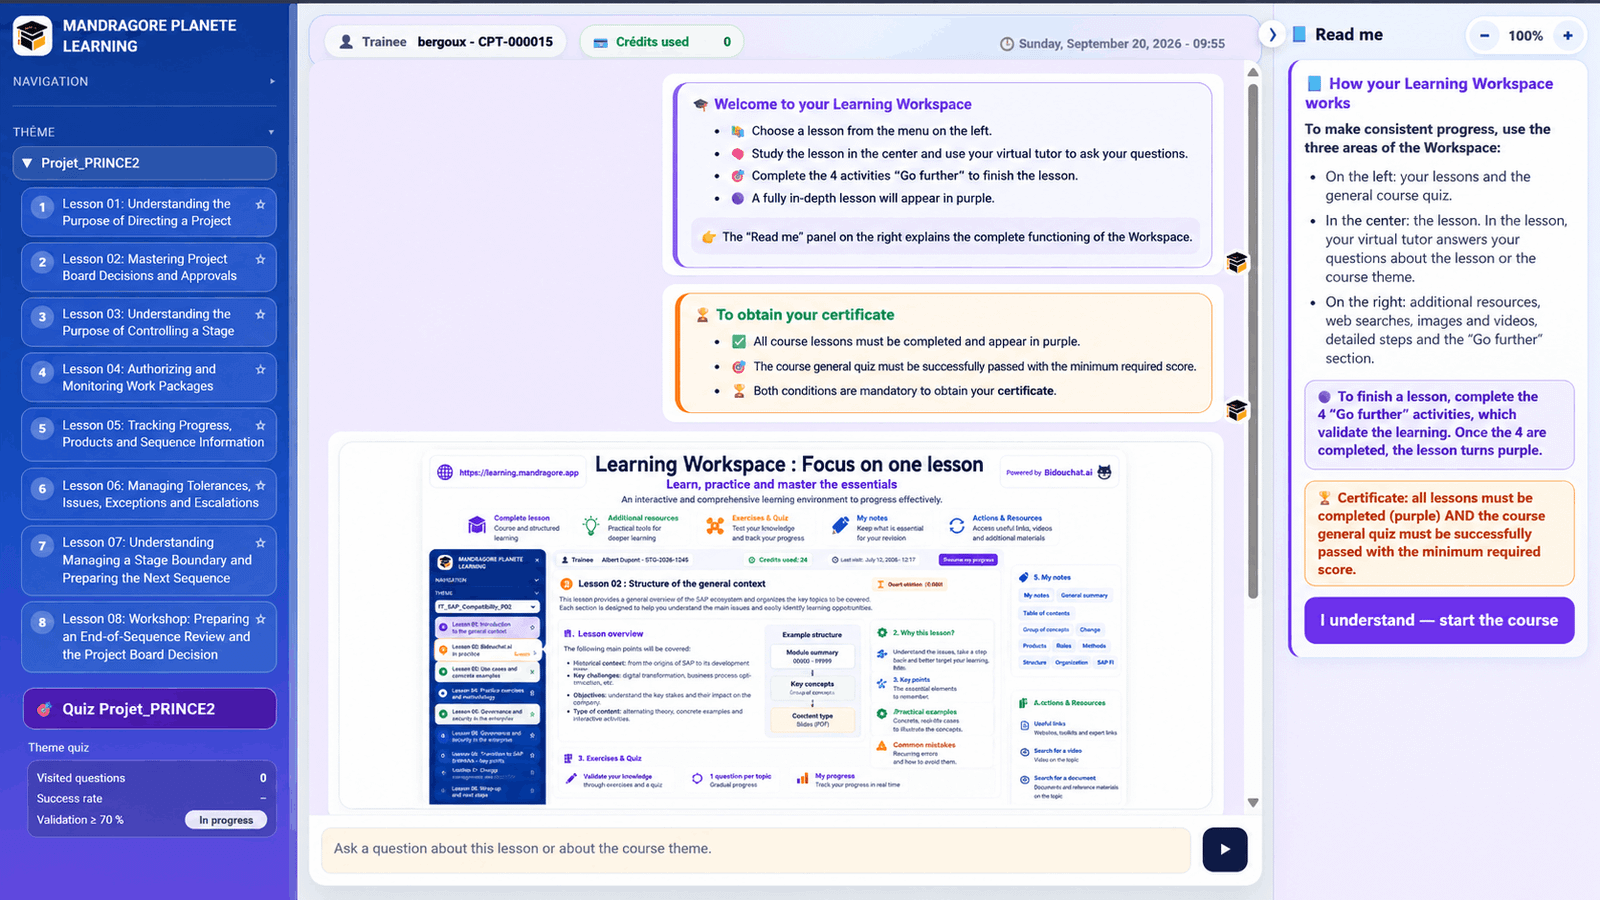
The Learning Workspace is organised around three permanent areas. The left menu is used to navigate the learning path, the central area displays content and the virtual tutor, and the right panel presents contextual help and information.
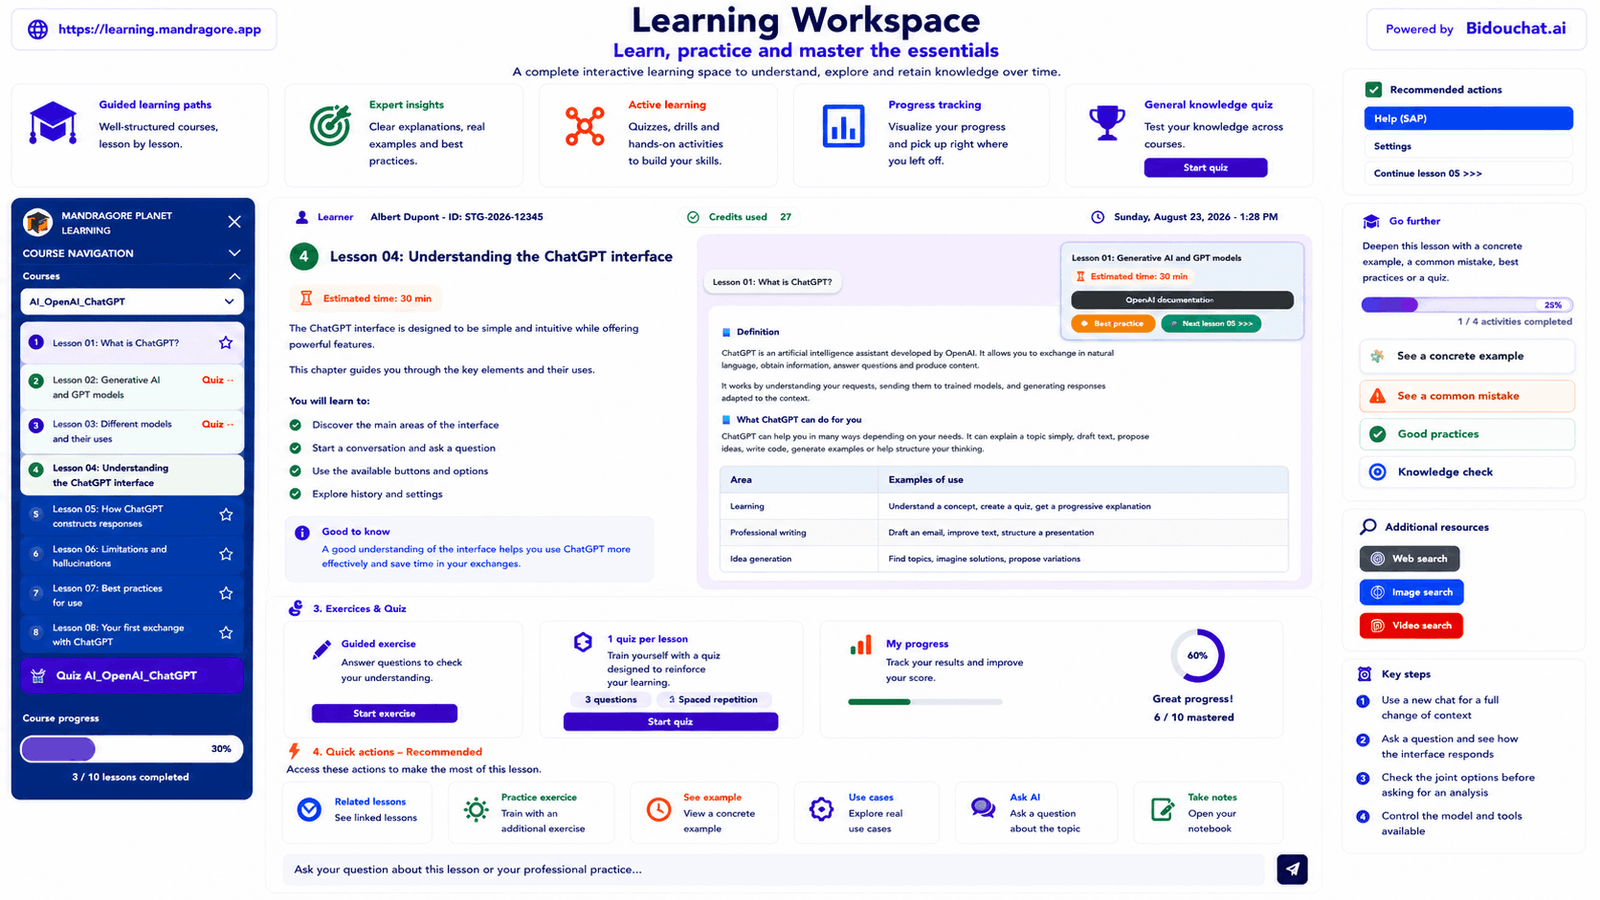
Overview
Before going into detail, this screenshot helps identify the three working areas of the Workspace and how they relate to one another.
1. Left menu — Workspace navigation
The left menu can be collapsed. It contains the permanent navigation functions of the Workspace.
1.1 General navigation
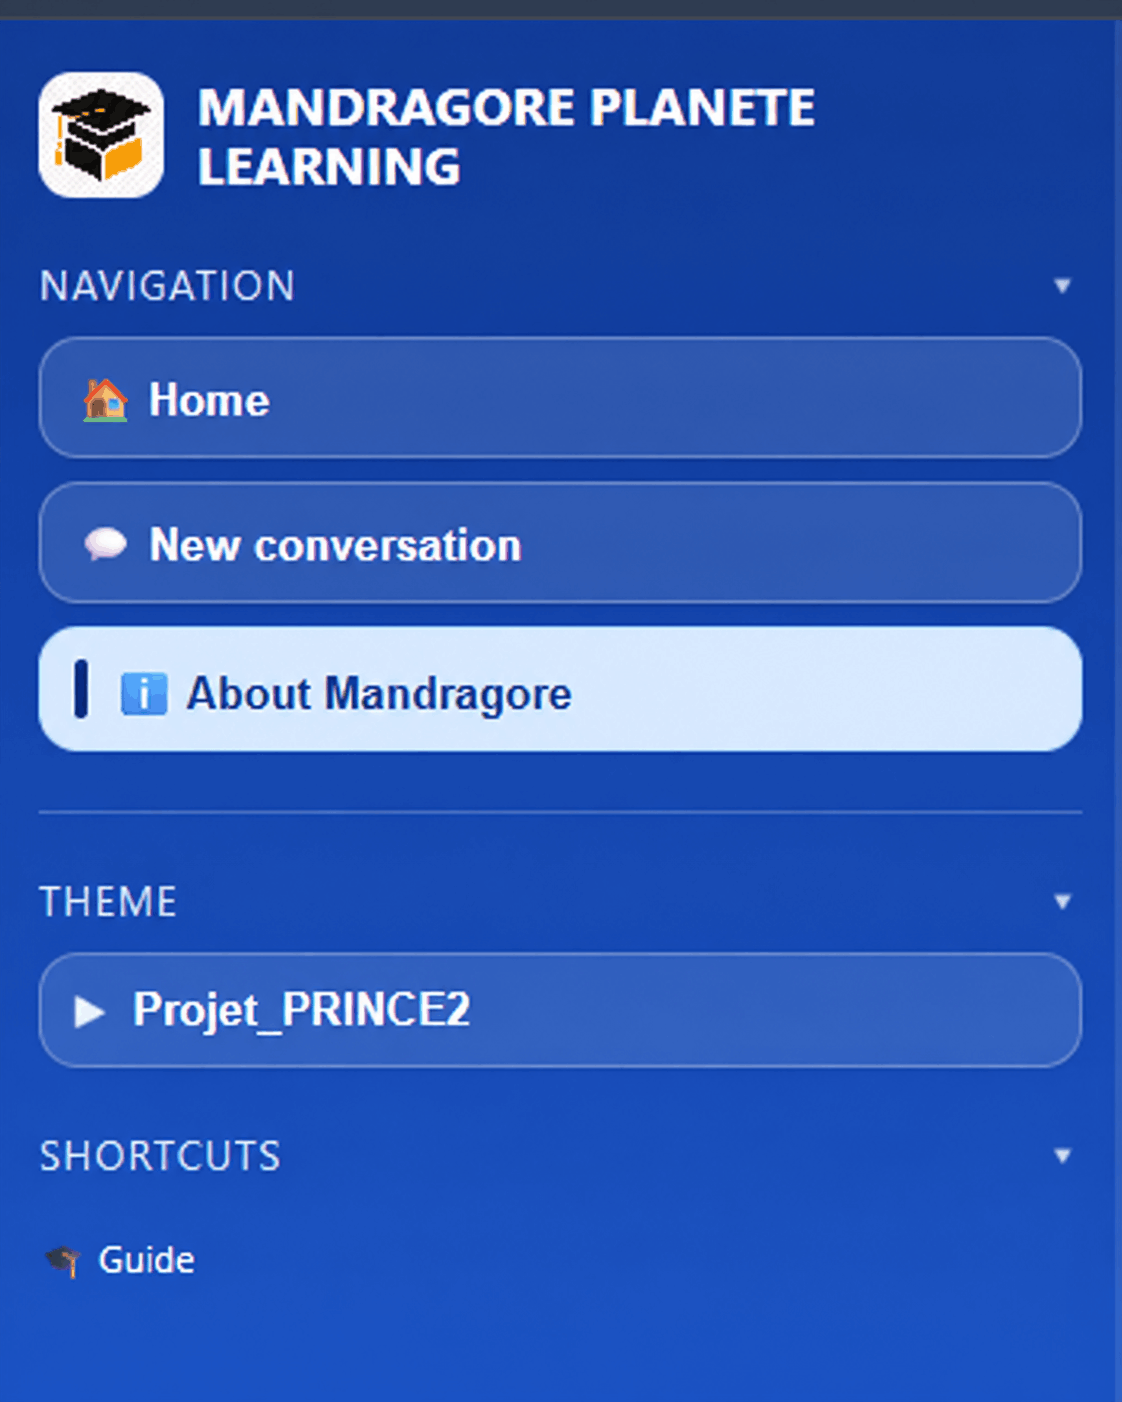
- Home: returns to the Workspace summary screen.
- New conversation: clears the current discussion and starts a new conversation.
- About Mandragore: displays the institutional sheet in the right panel.
- Topic: shows the currently open topic or learning path.
- Lessons: opens the course lessons.
- Overall quiz: opens the course-wide quiz.
- Shortcuts / Guide: opens the help guide.
1.2 Home
When “Home” is selected in the left menu, the Workspace displays a summary view. The right panel can then show the overall quiz tracking. The virtual tutor field does not belong to the Home option: it remains in the central area and is described separately below.
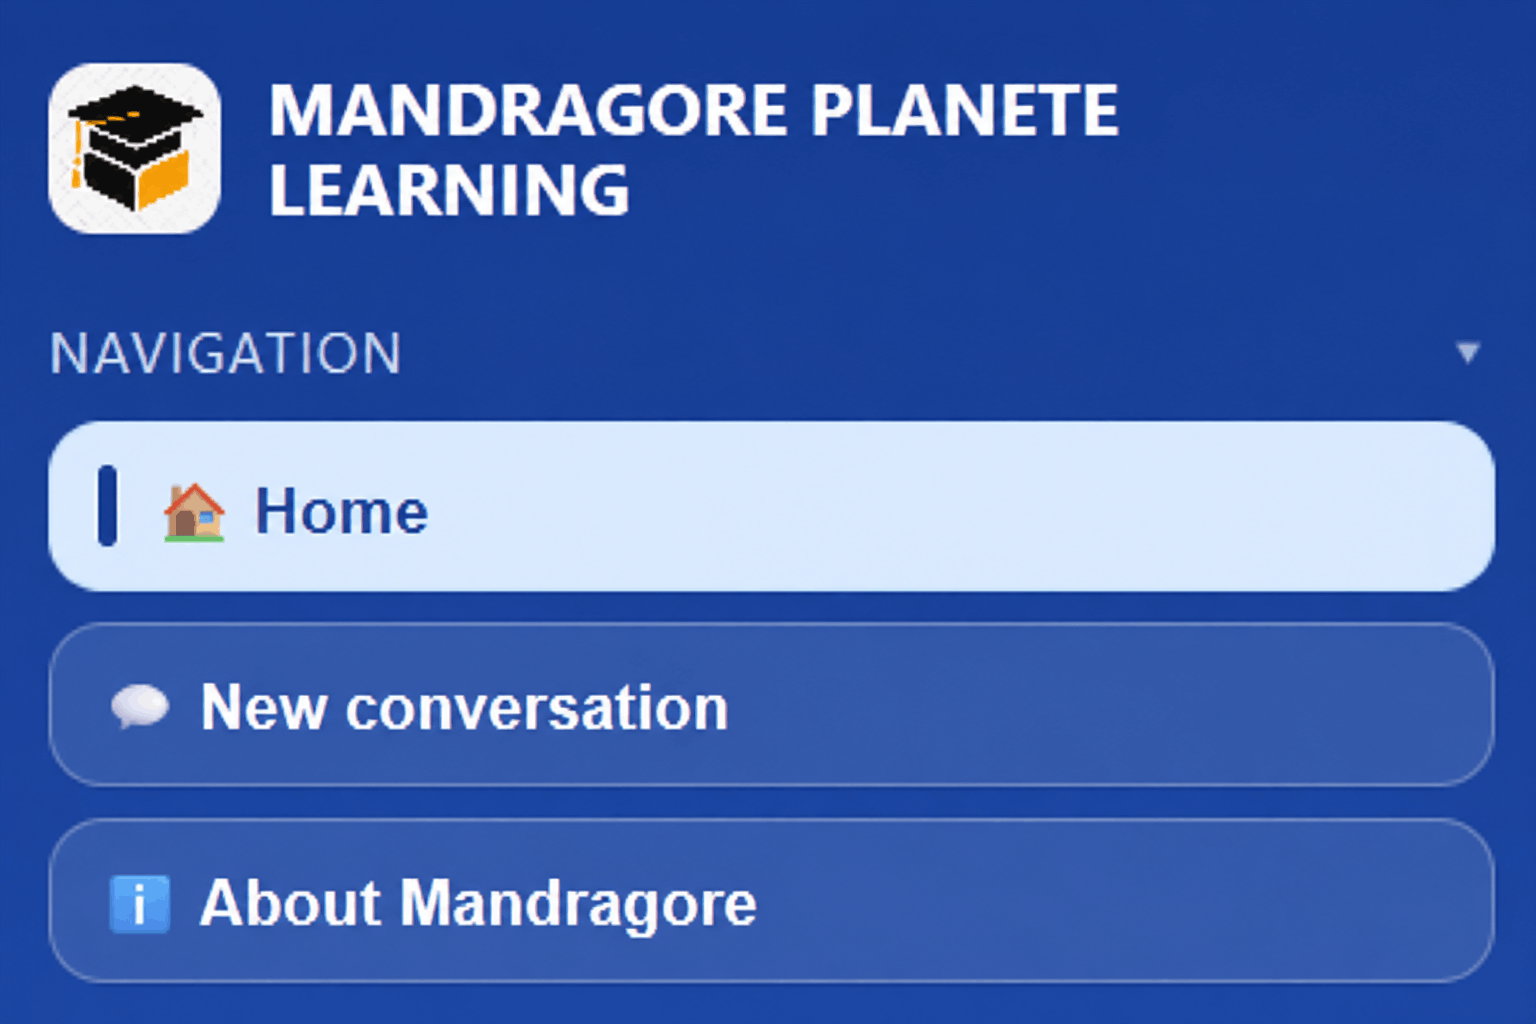
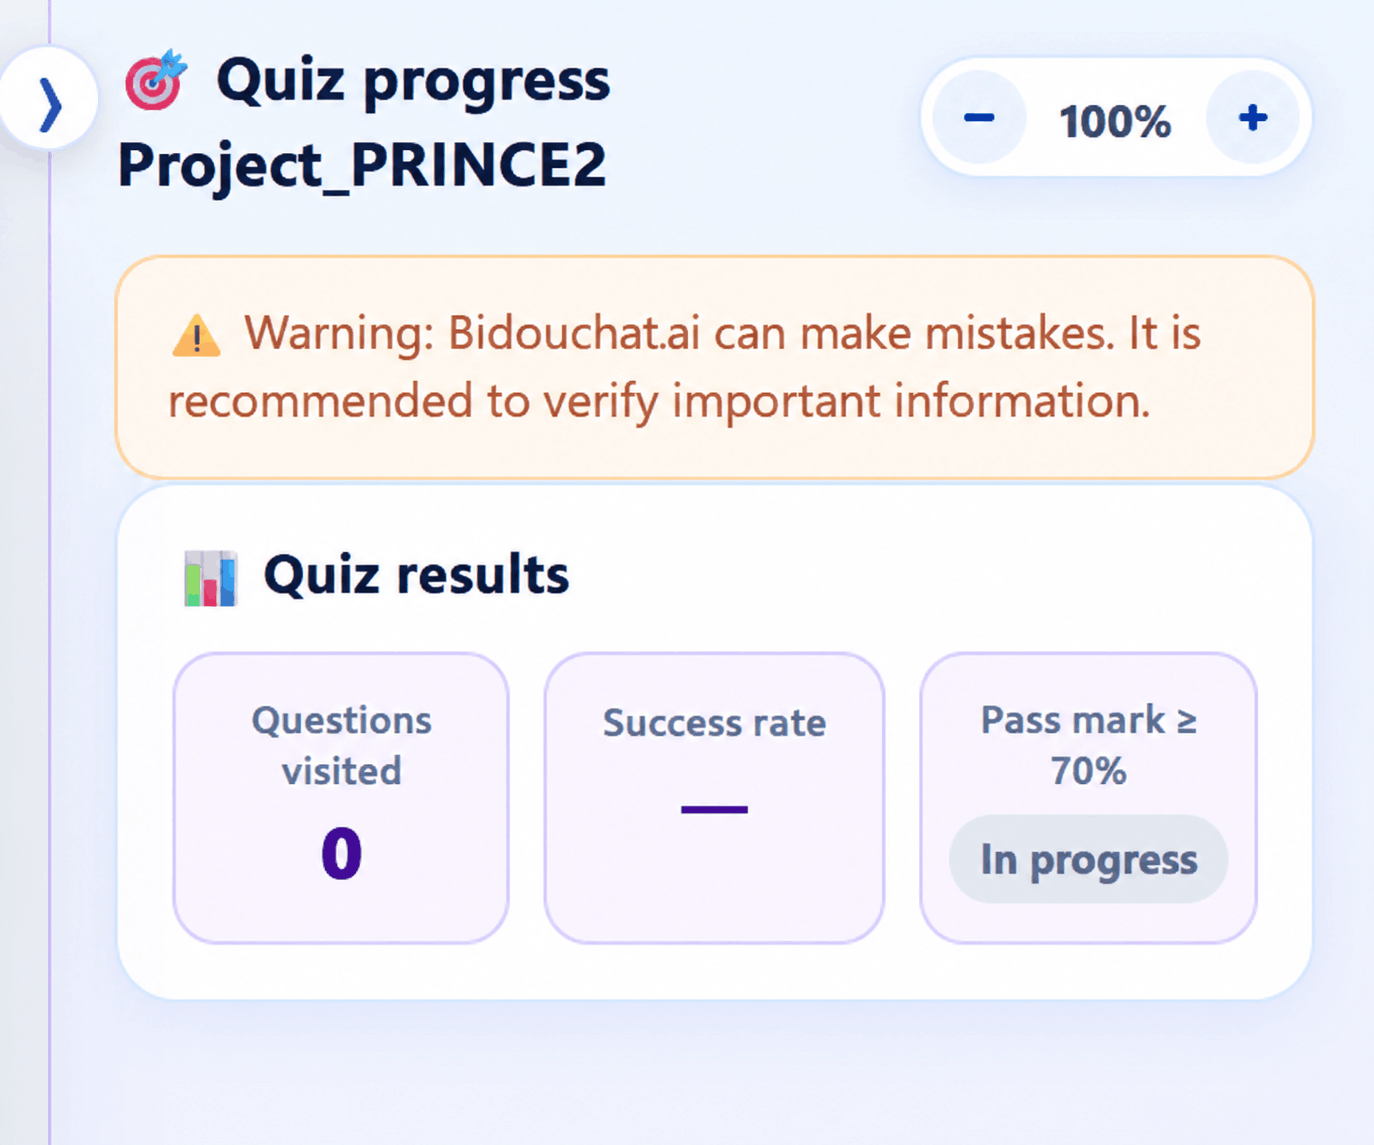
- “Home” appears selected in the left menu.
- The right panel can display overall quiz tracking: visited questions, success rate and validation status.
- A Bidouchat.ai notice reminds users that conversational answers may contain errors and that important information should be checked.
- The displayed overall quiz validation threshold is 70%.
1.3 New conversation
This option clears the current conversational discussion so a new conversation can start. It does not delete the learner’s course progress.
1.4 About Mandragore
This option opens an institutional sheet in the right panel without immediately leaving the Learning Workspace.
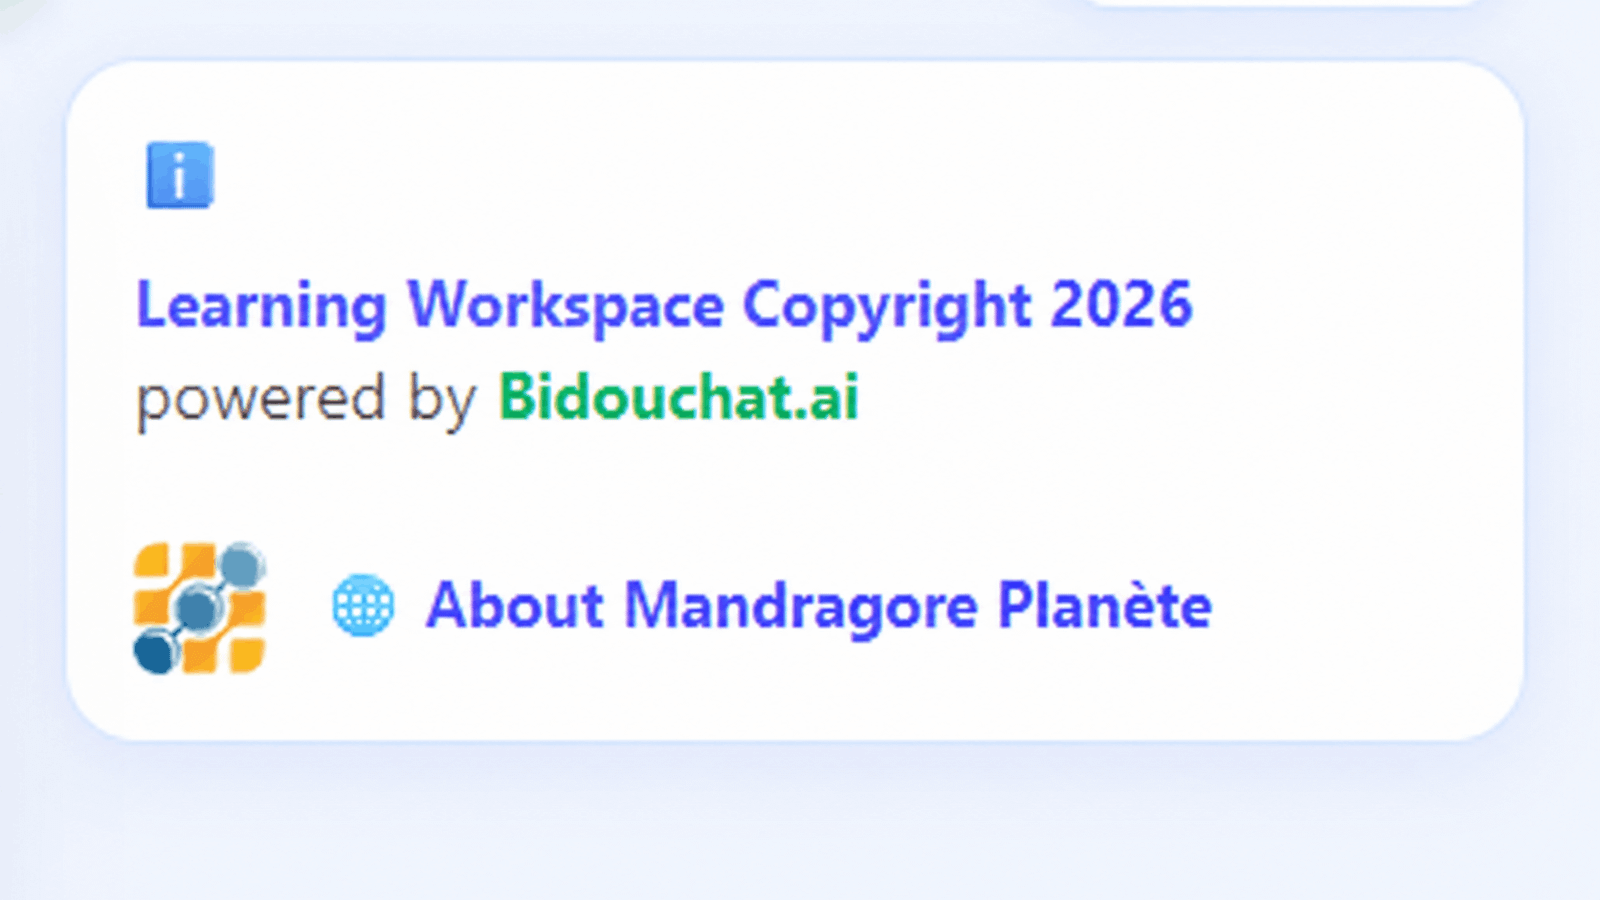
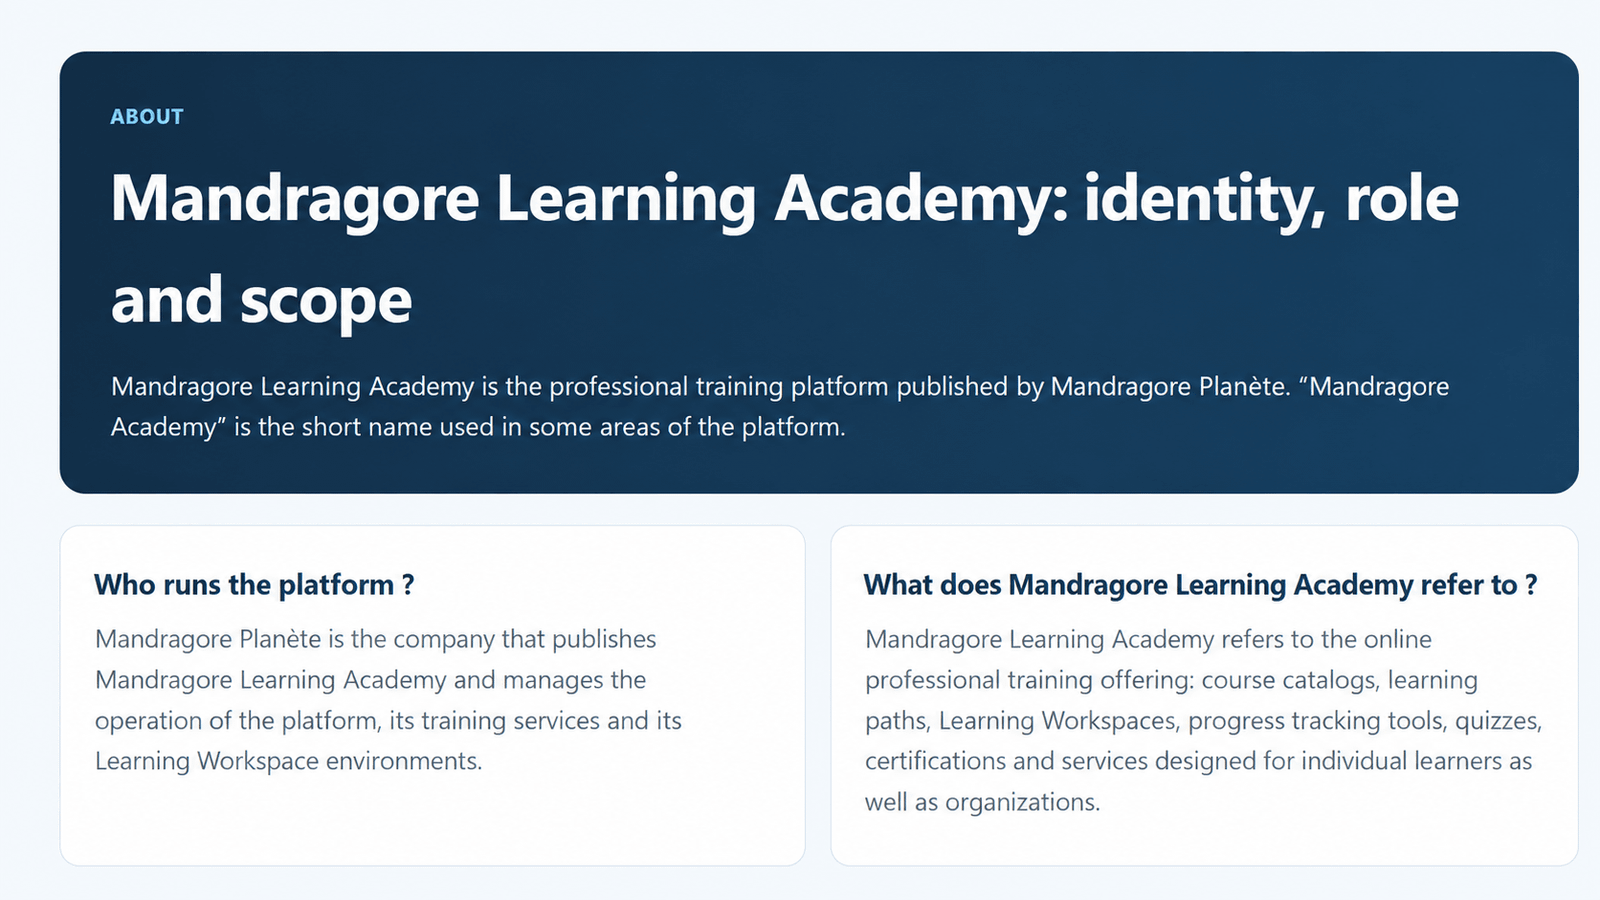
The sheet displays copyright information, the “powered by Bidouchat.ai” notice and the “About Mandragore Planète” link. The link can then open the public “Mandragore Learning Academy: identity, role and scope” page.
1.5 Topic, lessons, overall quiz and Guide
Below general navigation, the left menu lets the learner choose the topic, open a lesson, access the overall quiz and use the Guide shortcut. The visual status of each lesson also makes its progress immediately visible.
Possible lesson statuses
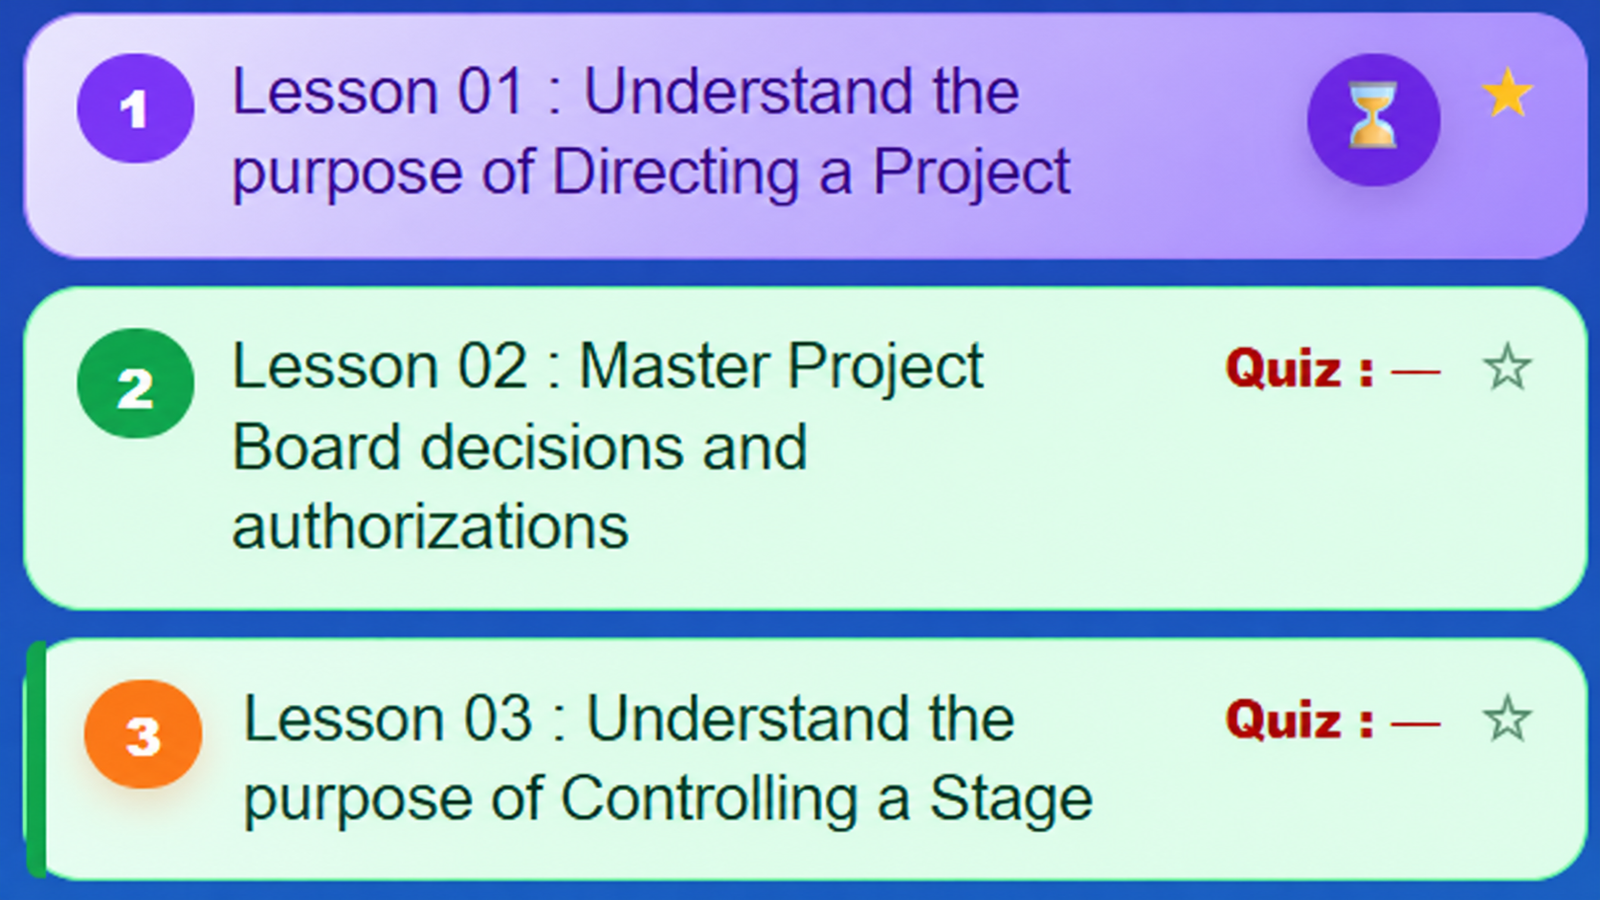
- Purple badge: completed lesson. The Go further section has been fully completed and the lesson is finished.
- Green badge: lesson read. The main lesson content has been viewed, although complementary activities may still remain.
- Orange badge: lesson in progress. The lesson is open and its progress is not yet complete.
- A red Quiz label indicates that an expected validation has not yet been completed.
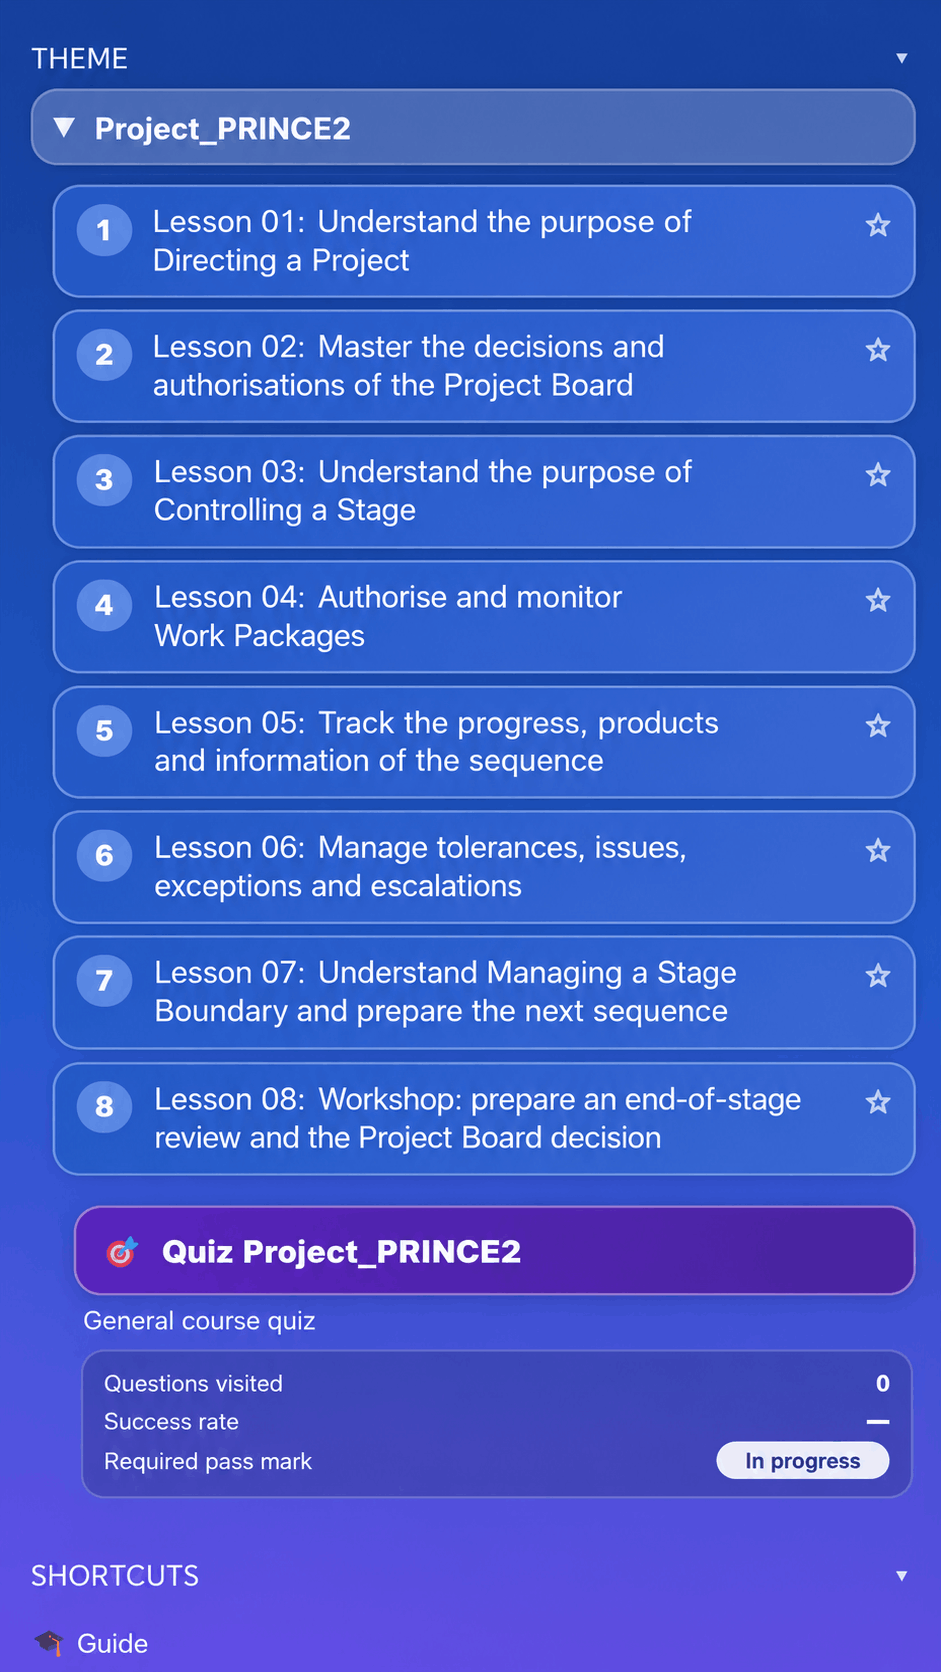
2. Central area — learn and interact
The central area is the main working space. Its content changes depending on whether the learner is on Home, inside a lesson or in an activity.
2.1 Information at the top of the screen
- Learner or trainee reference.
- Number of credits used.
- Workspace date and time.
2.2 First message / Read first
On first display, the central area presents a welcome message with the essential rules: choose a lesson, use the virtual tutor, complete the required activities and consult the “Read me” panel.
2.3 Displayed content
The central area then displays the requested lesson or screen: explanations, exercises, quizzes, progress and actions related to the learning path.
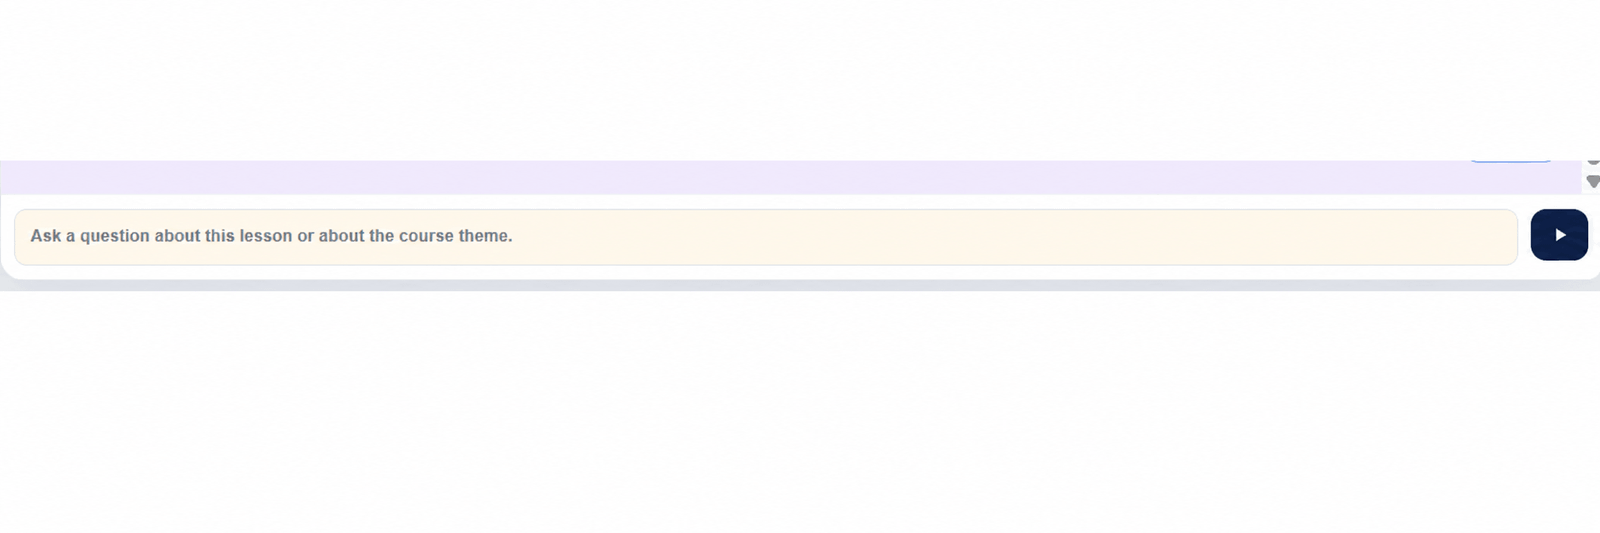
2.4 Virtual tutor — question field
At the bottom of the central area, a conversation field lets the learner ask a question about the current lesson, the learning path topic or the related profession. This field remains available independently of the Home option.
3. Right panel — contextual help and information
The right panel displays information that changes depending on the current screen or selected action. It can be collapsed to free more space in the central area.
3.1 Read me — the Workspace quick-start guide
The “Read me” panel is the immediate operating guide for the Learning Workspace. It reminds learners of the essential rules before starting the course.
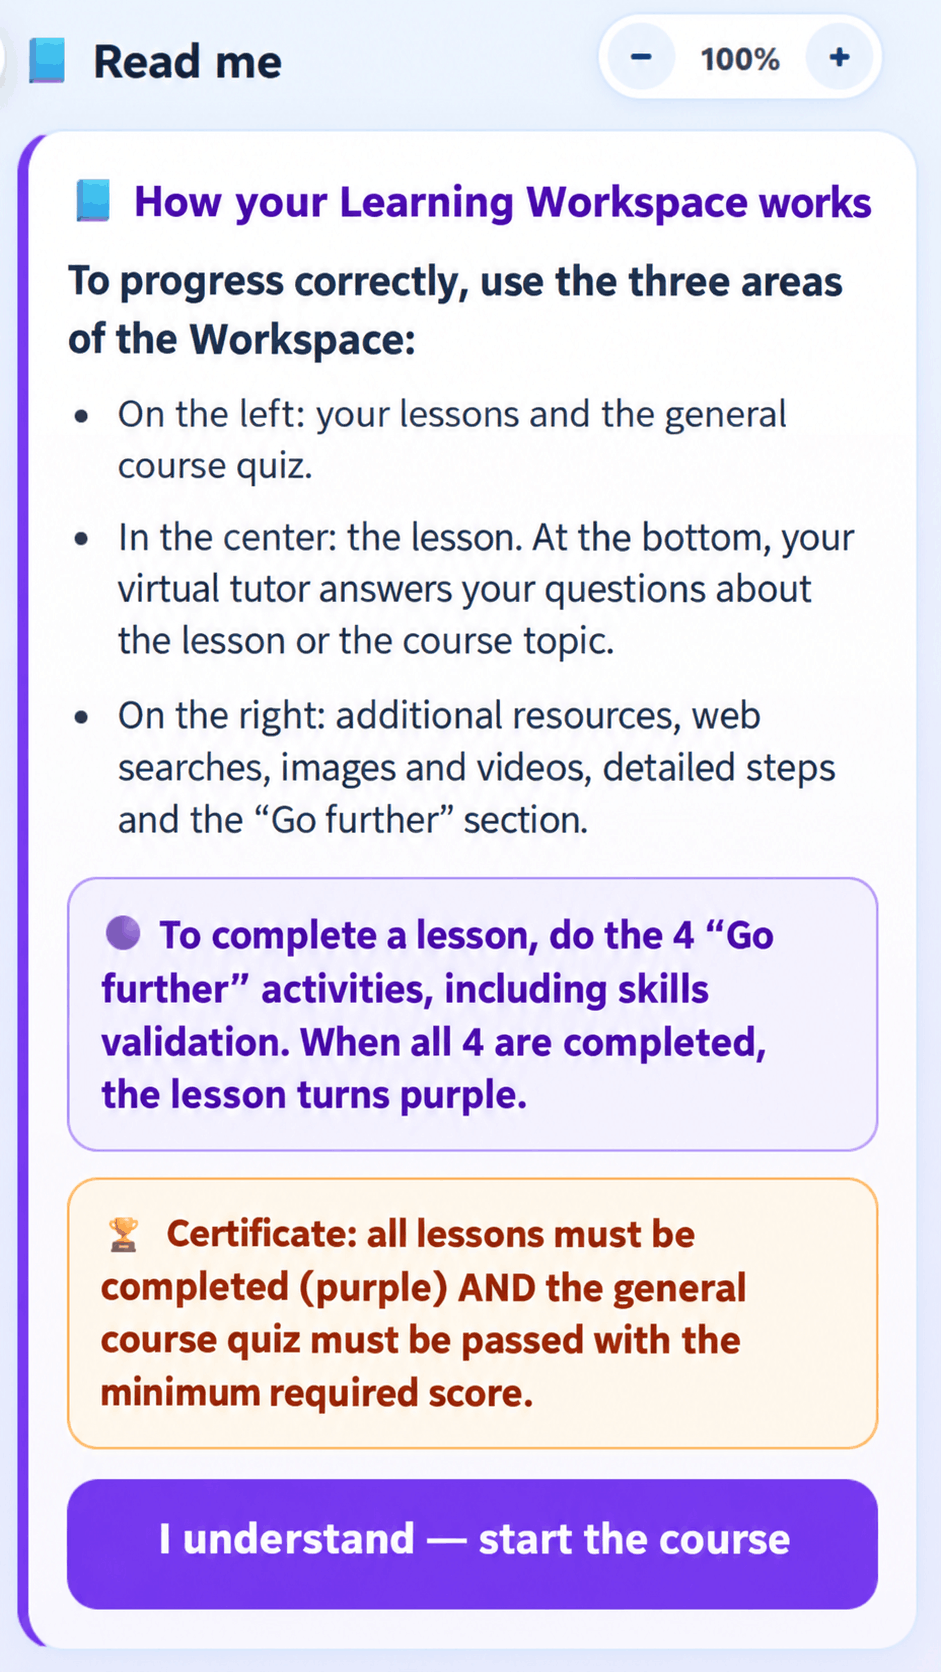
- Left: access to lessons and the overall course quiz.
- Centre: display of the lesson and, at the bottom, access to the virtual tutor.
- Right: additional resources, Web, Image and Video searches, detailed steps and the “Go further” section.
- To complete a lesson: carry out the “Go further” activities through Knowledge Validation.
- When all required activities are completed, the lesson changes status in the learning path.
- To obtain the certificate: all lessons must be completed and the overall quiz must be passed with the required minimum score.
3.2 Overall quiz tracking
From Home, the right panel can display overall quiz tracking: visited questions, success rate and validation status against the required threshold.
3.3 About Mandragore
When “About Mandragore” is selected on the left, the right panel displays the institutional sheet and the link to the public About page.
3.4 Collapse the panel and adjust zoom
The “>” button at the top of the panel hides or shows the right panel. The “– / 100% / +” controls adjust the zoom for more comfortable reading.
Understanding a lesson
1. Left menu — where am I in the learning path?
The left menu shows the active lesson and its current state in the learning path.
1.1 Selected lesson and status

- The selected lesson is highlighted.
- The numbered badge turns orange when the lesson is in progress.
- The Quiz label appears in red while the expected quiz or Knowledge Validation has not been completed.
- The star on the right of the lesson lets the learner add it to favourites.
- The topic, other lessons and overall quiz remain available from the same menu.
Favourites
Clicking the star marks the lesson as a favourite. The star changes visual state to show that the lesson has been bookmarked.

1.3 Topic, other lessons and overall quiz
These visual indicators make it easy to see which lesson is active, what still needs validation and which content the learner wants to find again quickly.
2. Central area — content, actions and credit usage
When a lesson is selected from the left menu, its content opens directly in the central area. This area brings together the learning content, lesson information, contextual sub-options and the virtual tutor.
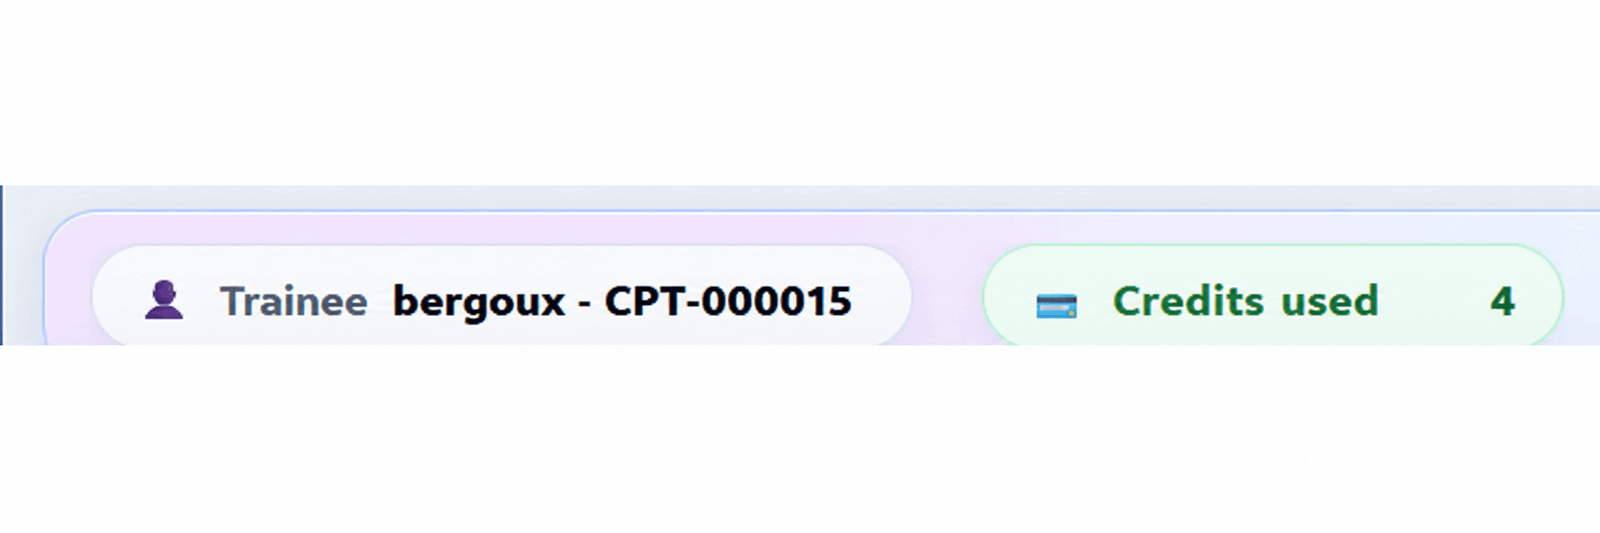
2.1 Learner header and credits
The top header shows the learner reference and the number of credits already used in the Learning Workspace.
2.2 Opening the lesson
Clicking a lesson in the left menu immediately opens its content in the central area. The first opening of the lesson costs 4 credits. Once that lesson has already been opened, it can be viewed again free of charge, even if it has not yet been completed and even if no green check mark is displayed.
2.3 Learning content
The central area contains the main learning development: explanations, examples, tables, lists, scenarios and other structured content. The lesson can be long and is read by scrolling vertically.
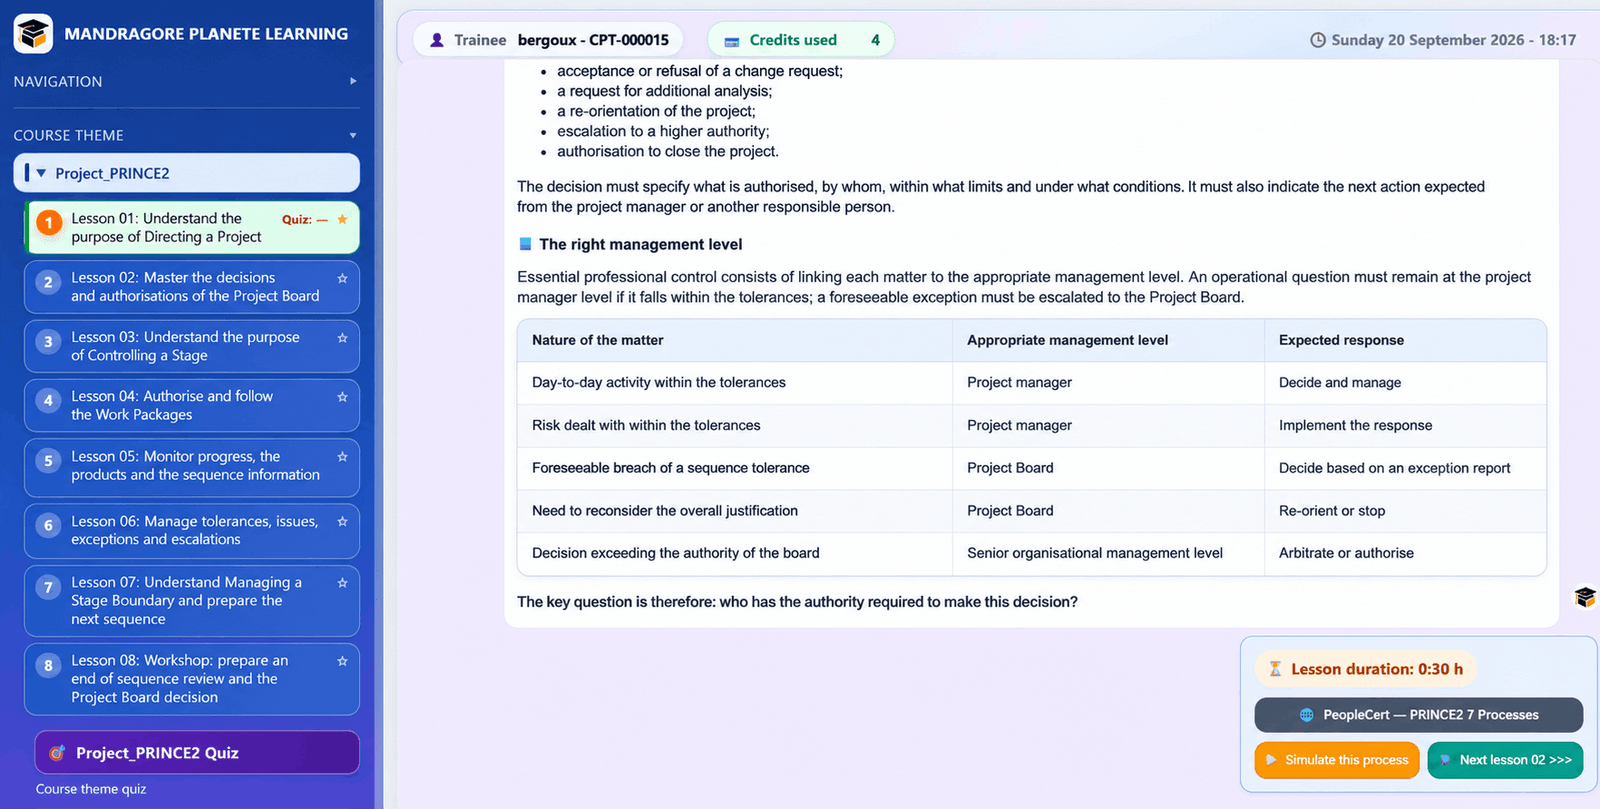
2.4 Duration and sub-options
A lesson may offer additional sub-options. They can differ from one lesson to another or from one course to another. Depending on the lesson, these may include an estimated duration, access to a resource or help page, a simulation action, additional learning content or a button to the next lesson.
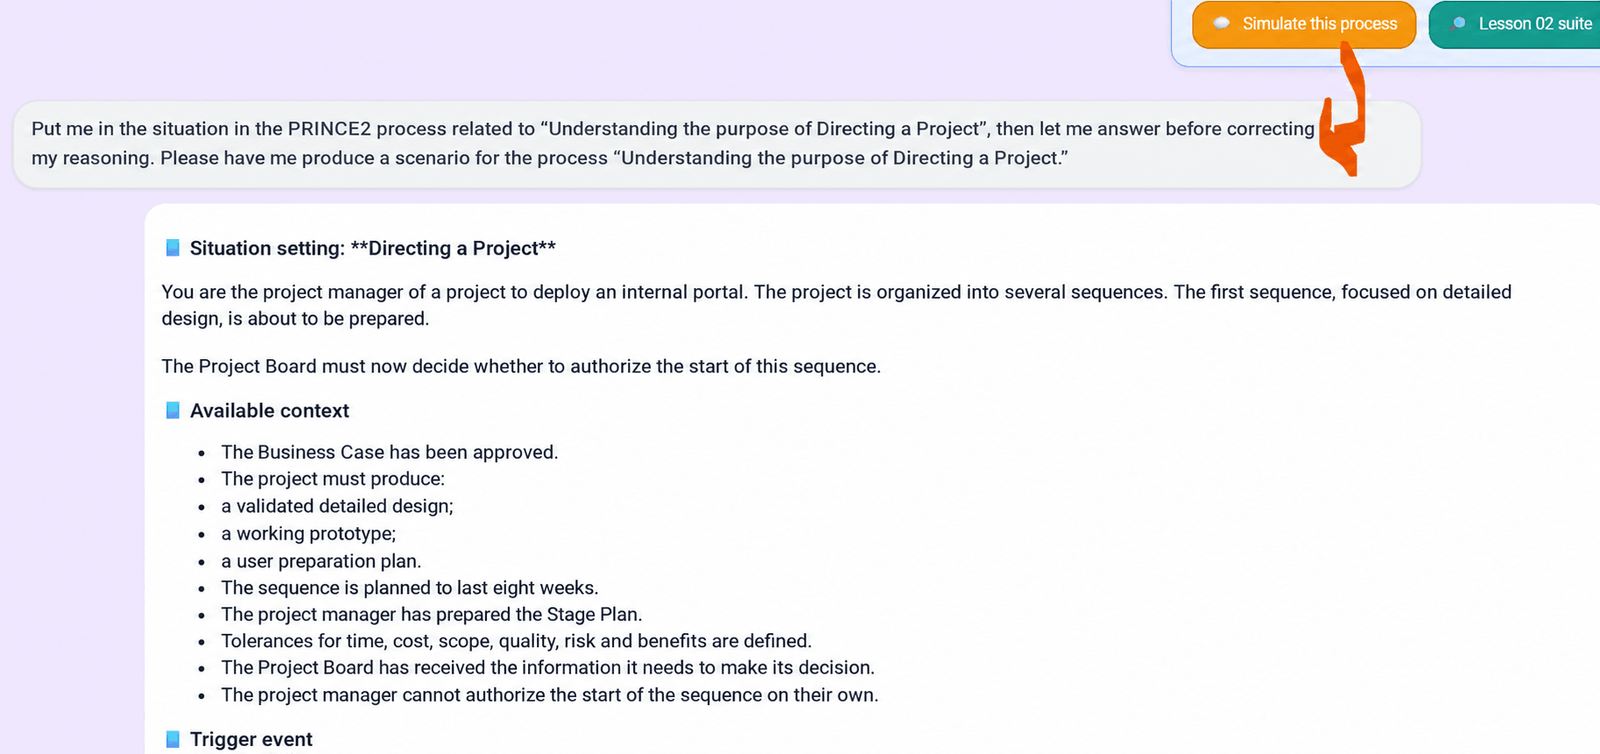
2.5 Generative actions
A sub-option asking the Learning Workspace to generate substantial learning content of about 50 lines consumes 4 credits. In the example below, “Simulate this process” generates a complete scenario in the central area.
2.6 Links and external resources
When a sub-option simply opens an existing link or resource, it consumes no credit. In the example, PeopleCert — PRINCE2 7 Processes opens an external resource.
2.7 Next lesson
The next-lesson button continues the learning path directly. It is a navigation action rather than a content-generation action.
2.8 Virtual tutor and deeper learning
At the bottom of the central area, the virtual tutor lets the learner ask a free-form question about the lesson, explore a concept in more depth, request an example or ask about the profession linked to the course topic.
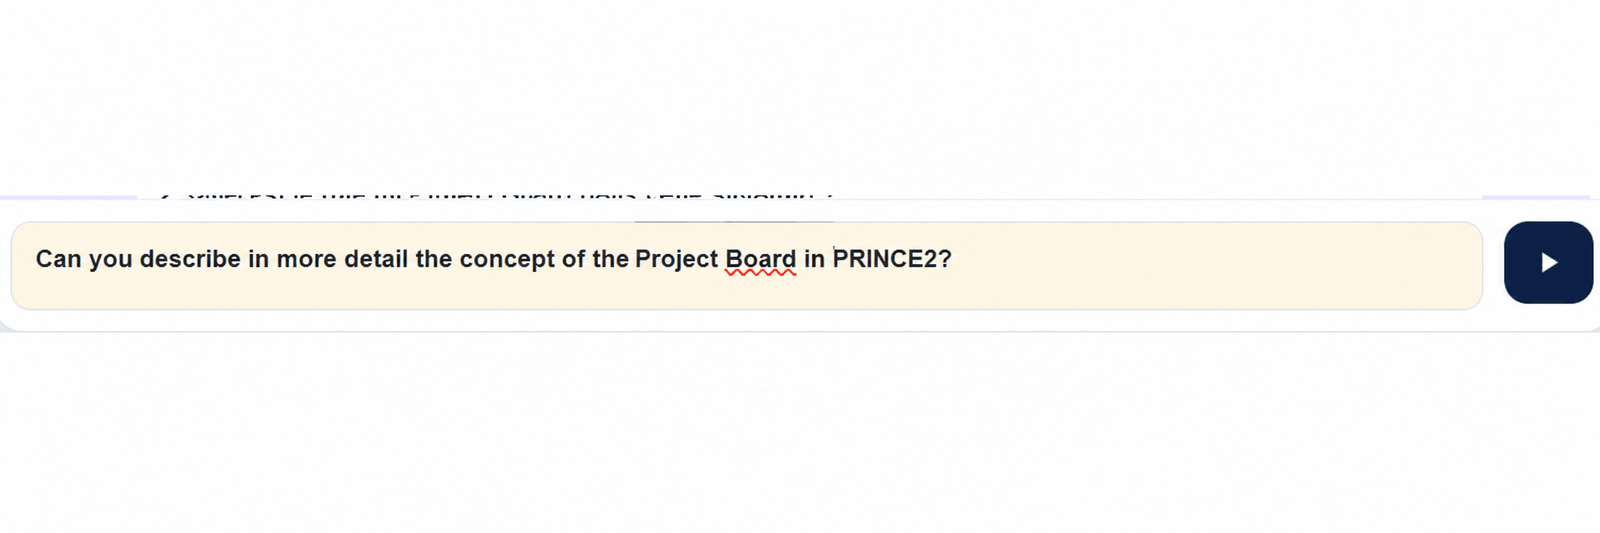
After the prompt is sent, the answer is displayed directly in the central area. Credit usage depends on the length and depth of the generated response.
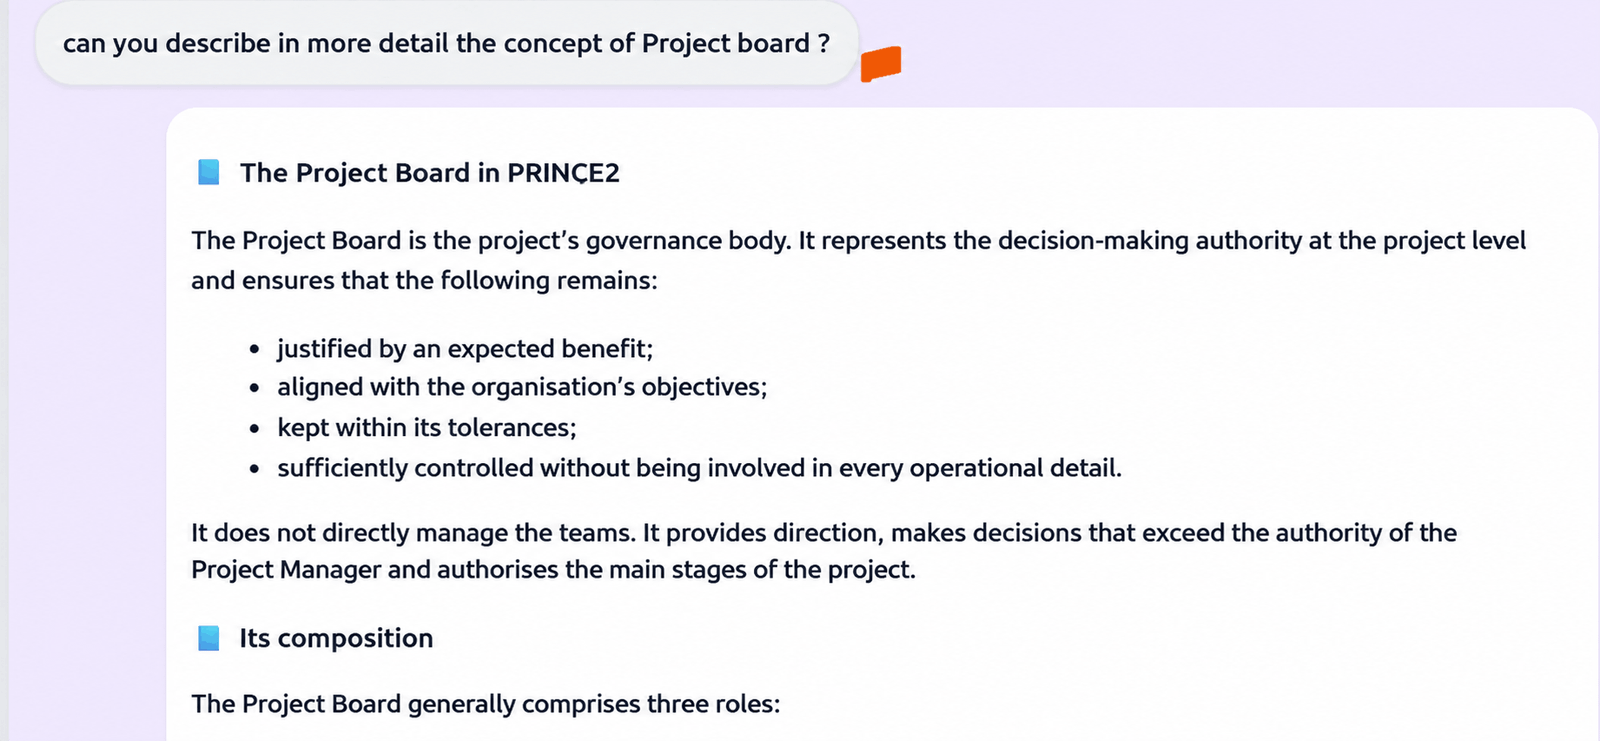
- Short question or simple clarification: variable cost depending on the response.
- Deeper explanation of a concept or professional context: variable cost depending on the response.
- Long answer or complete development: never more than 4 credits.
ℹ️ 2.9 Important information: the central area receives the responses from the right menu
The central area displays the response content generated from the Right menu options. In other words, the Right menu offers the actions and the Central area displays the detailed result.
- Keywords: display or use of the useful keywords related to the lesson.
- Additional searches: the Web search, Image search and Video search actions display their results in the Central area.
- Suggested actions: when an action is launched, its content or result is displayed in the Central area.
- Go further: the 4 options View a concrete example, View a common mistake, View best practices and Skills validation open and answer inside the Central area.
- The Central area is therefore the main workspace for reading, consulting and receiving responses in the Learning Workspace.
3. Right panel — what can I do and which resources are available?
The right panel becomes contextual as soon as a lesson is selected. It provides information and actions directly related to the active lesson.
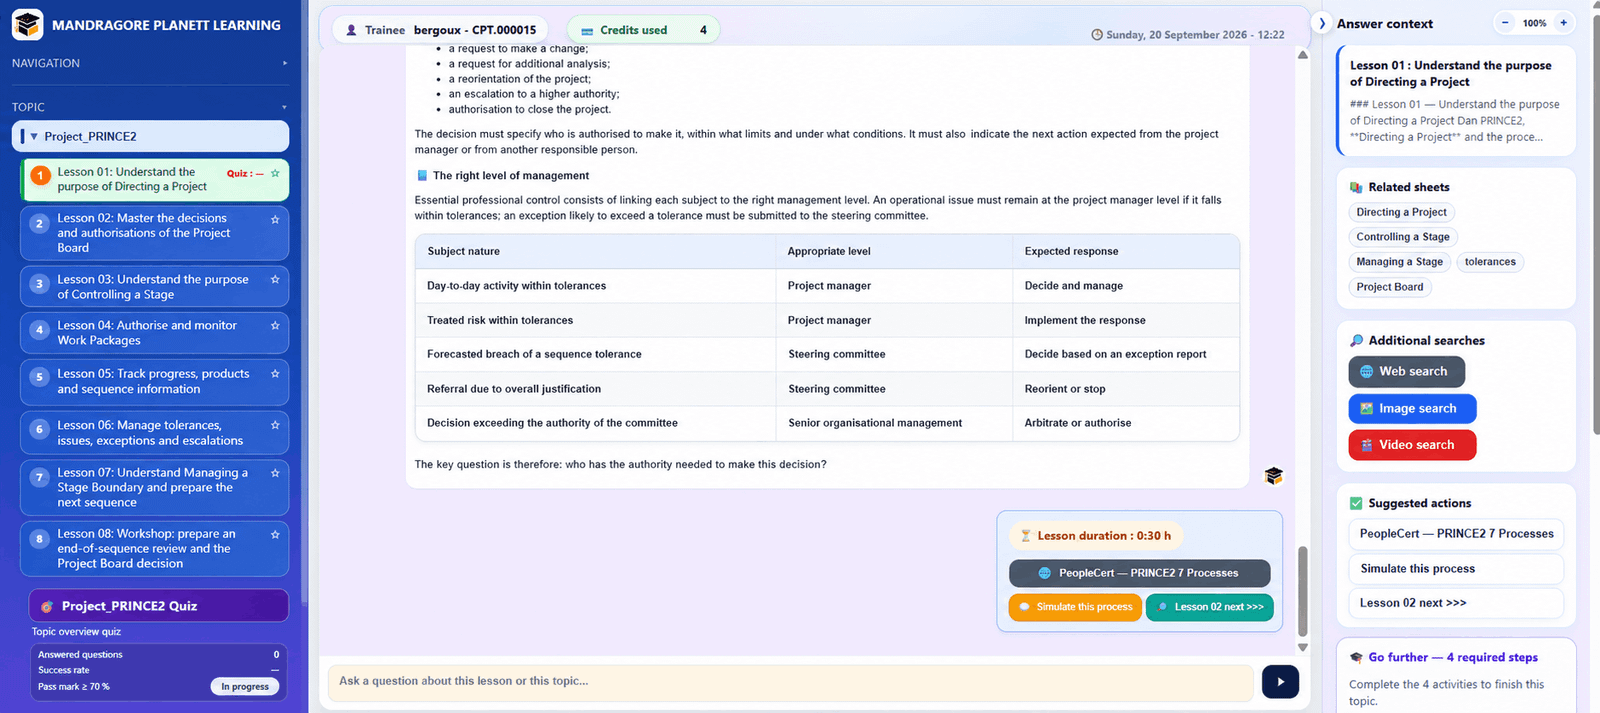
3.1 Response context
Response context: recalls the active lesson and provides the context used to support the learner.
3.2 Related sheets
The Related sheets block groups keywords or notions linked to the current lesson. These entries let the learner quickly open a summary answer about a related course point.
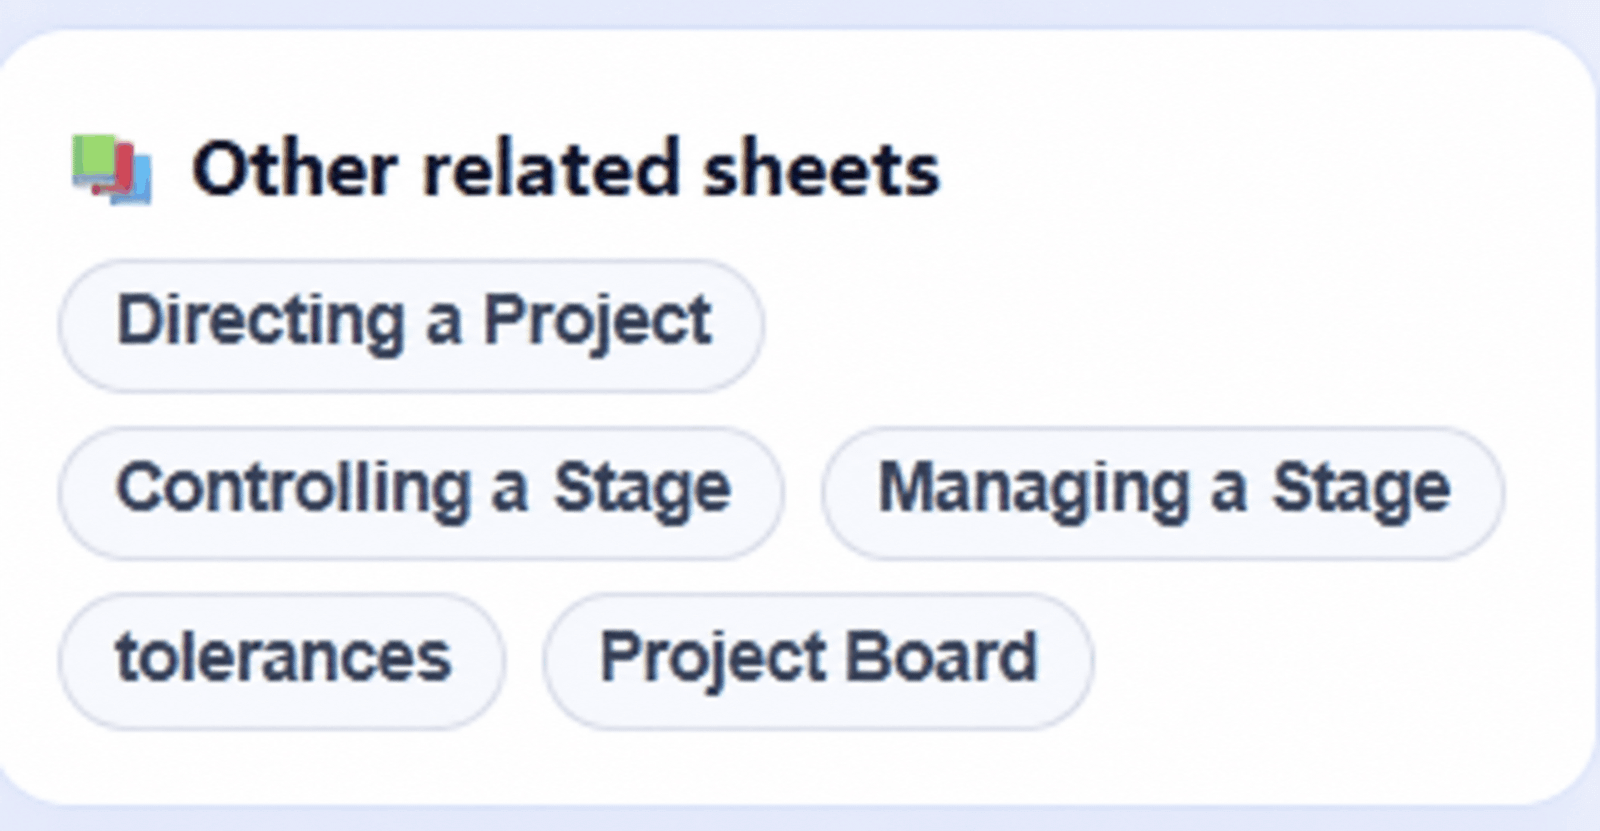
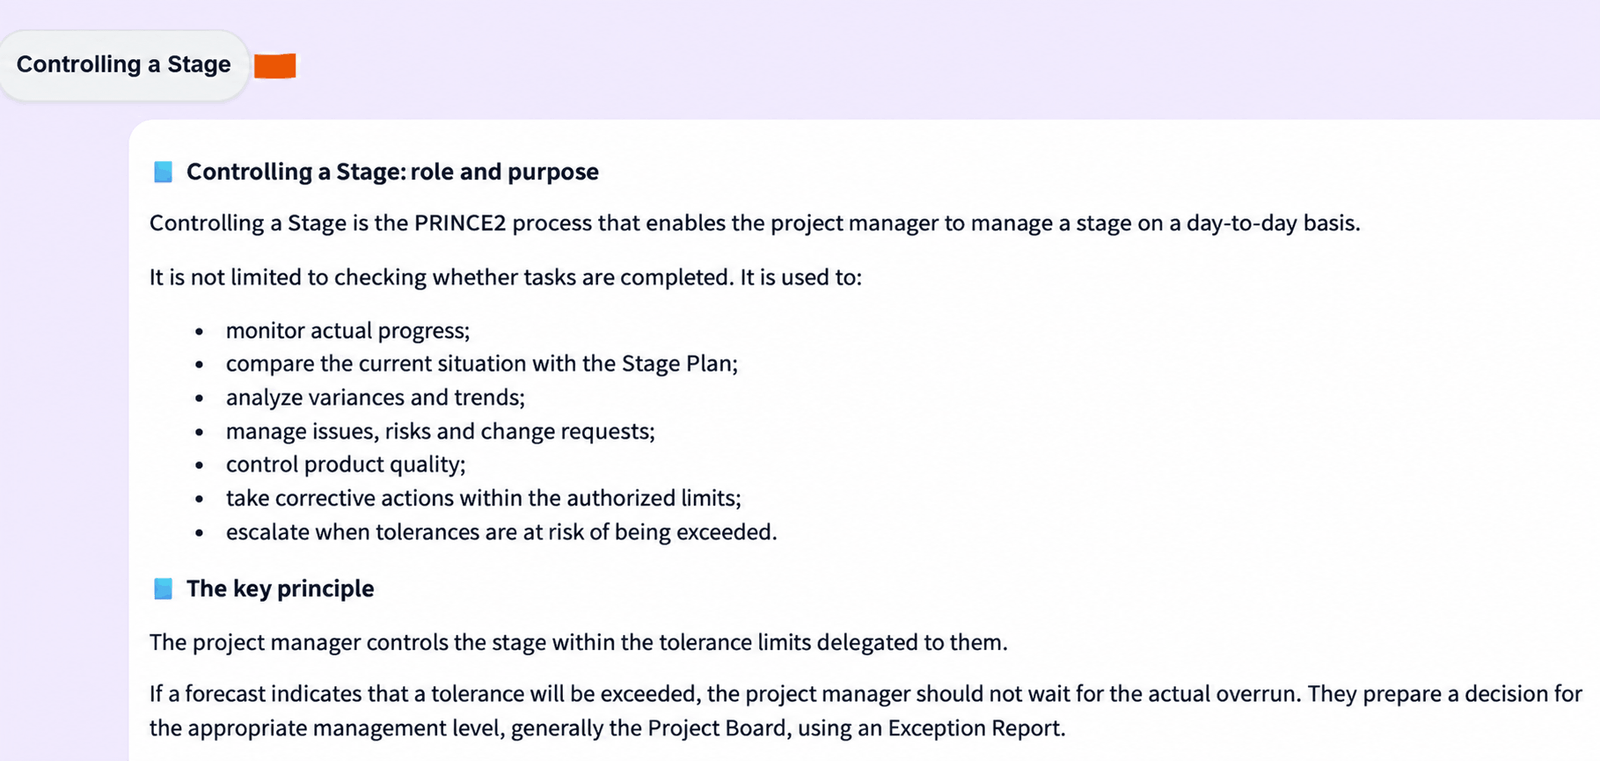
- Each keyword is clickable and opens a summary answer in the central area.
- The credit cost depends on the response produced by the Learning Workspace.
- As a general rule, a summary answer on a related sheet uses 4 credits.
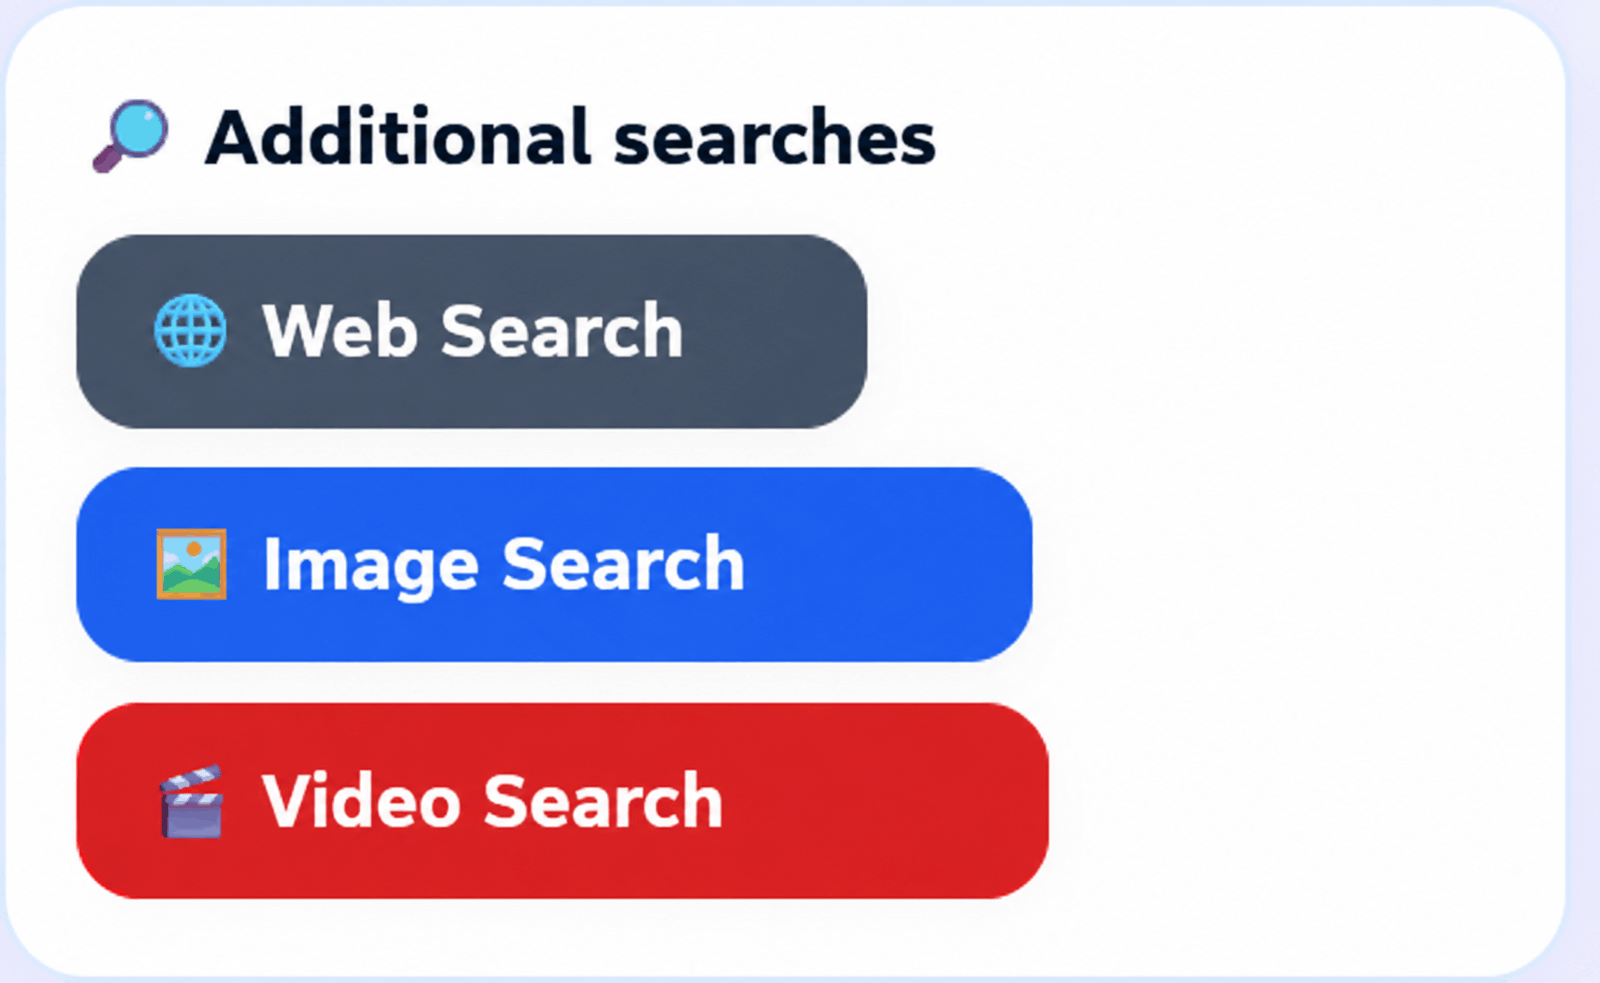
3.3 Additional searches
The Additional searches block offers three search engines: Web search, Image search and Video search. Their results are displayed in the central area.
Web search — links

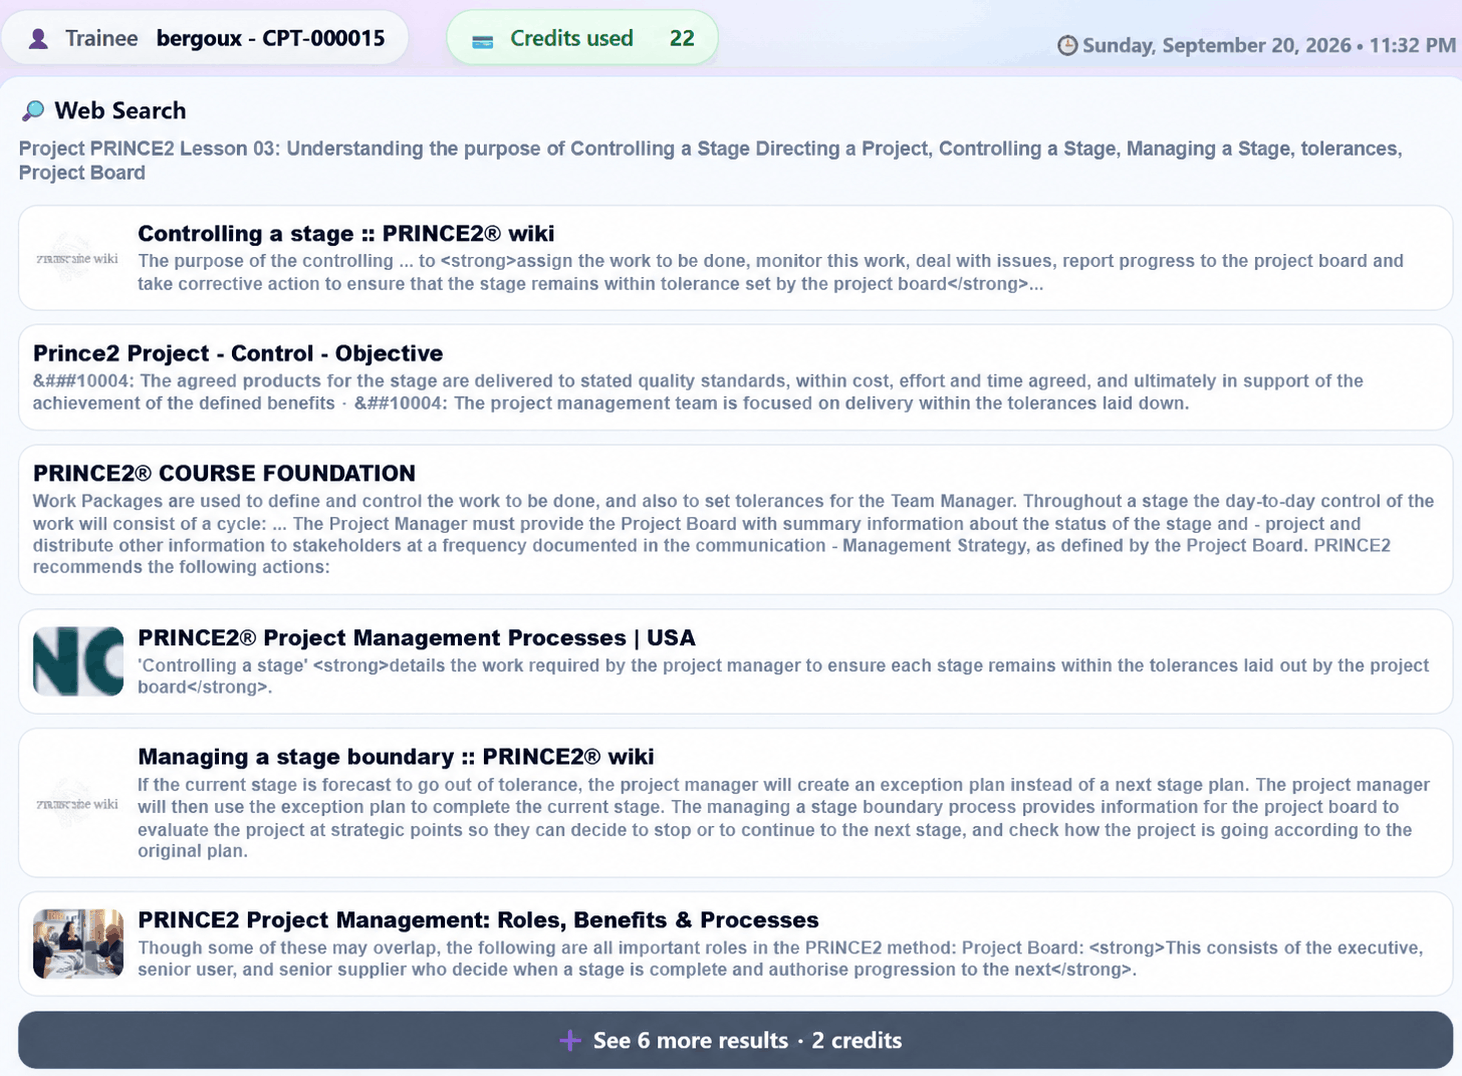
- Web search provides a first set of about 10 links related to the lesson for 2 credits.
- The “See next results” button provides additional links for 2 extra credits.
- Clicking a link opens a new browser tab: 0 credits.
Image search

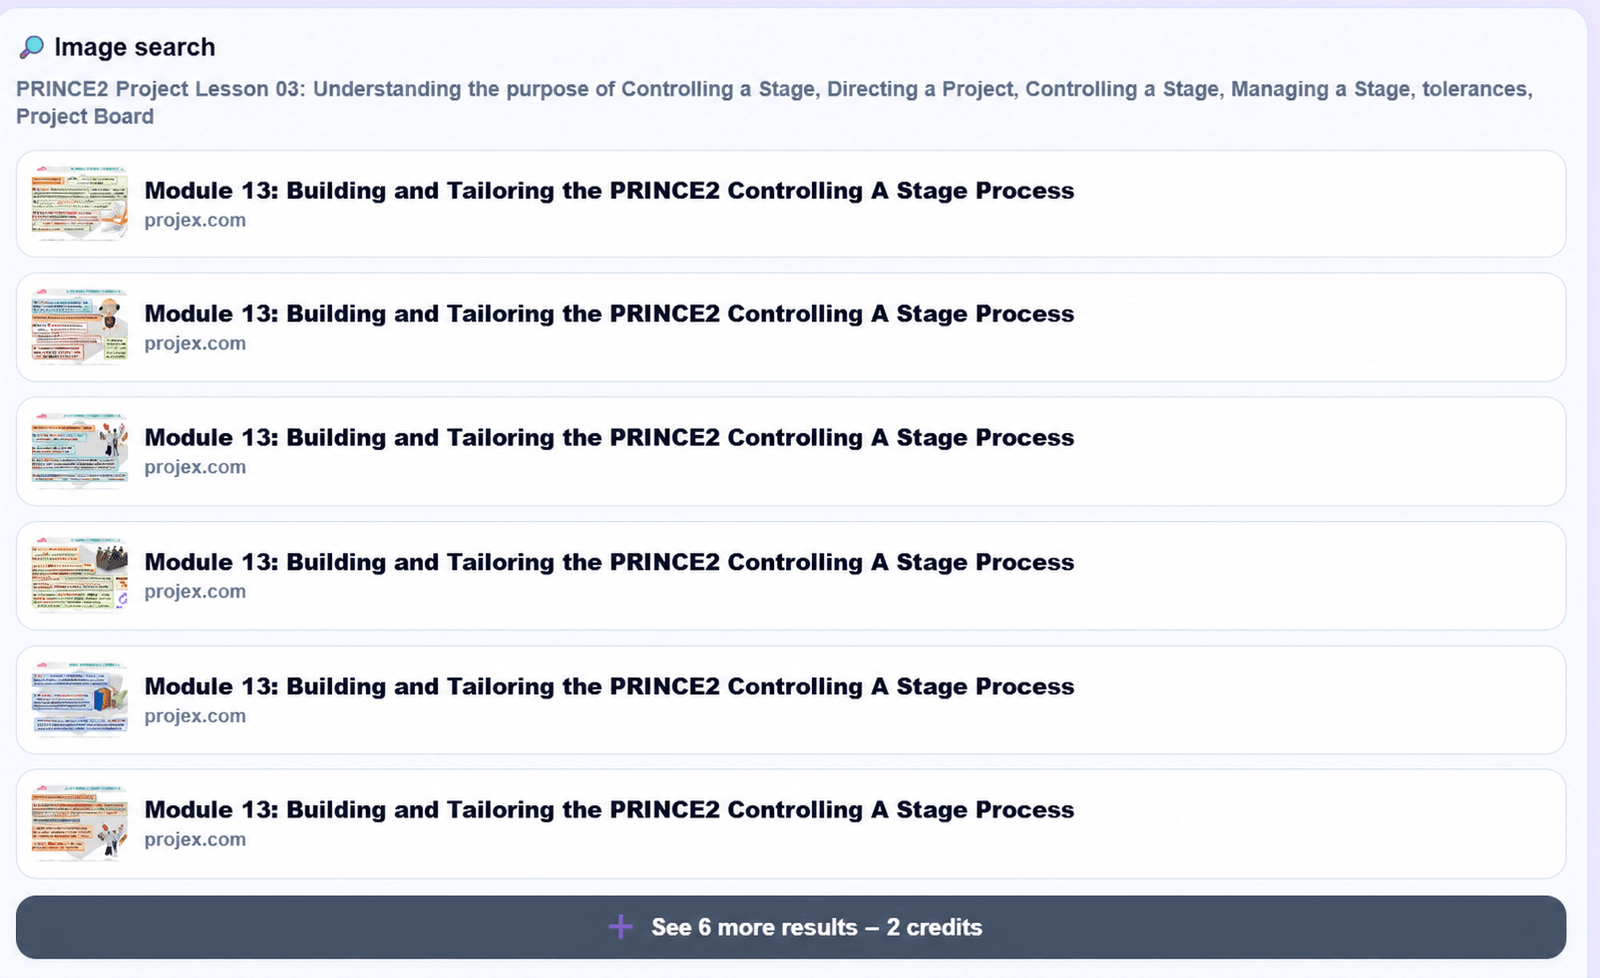
- Image search provides a first selection related to the lesson for 2 credits.
- The “See next results” button provides additional images for 2 extra credits.
- Clicking an image or its source page opens a new tab: 0 credits.
Video search

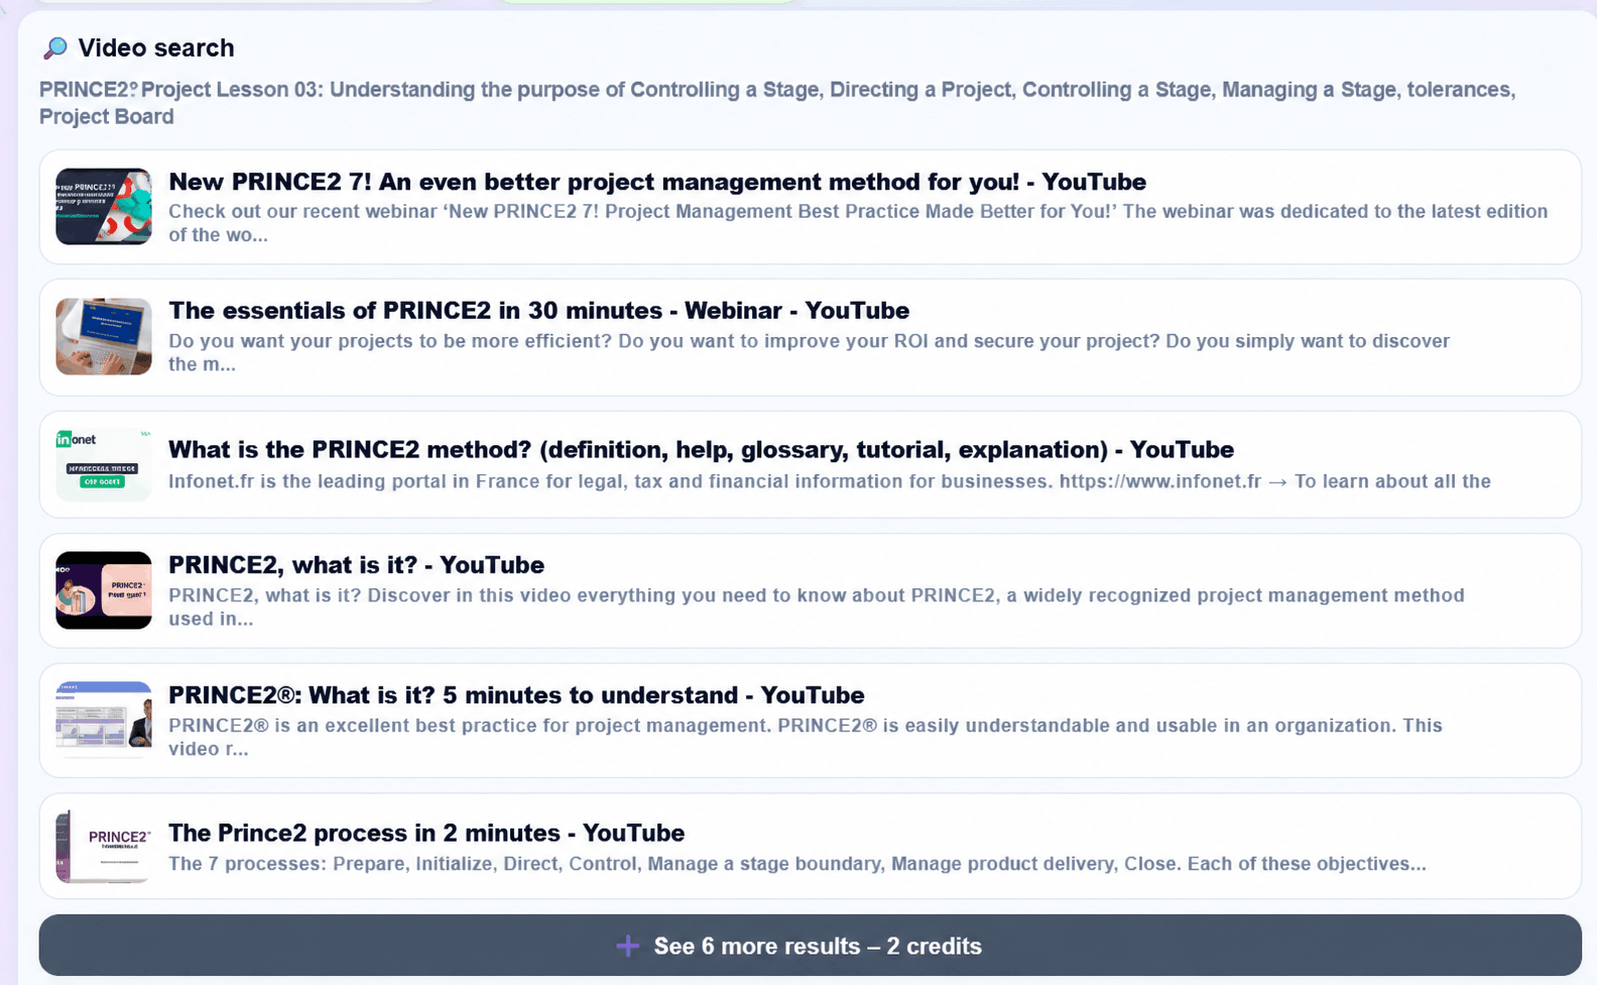
- Video search provides a first selection related to the lesson for 2 credits.
- The “See next results” button provides additional videos for 2 extra credits.
- Clicking a video opens a new browser tab: 0 credits.
3.4 Suggested actions
The Suggested actions block brings together the additional actions available for the current lesson. Its purpose is to summarize, in the right panel, the main required or optional options offered by that lesson.
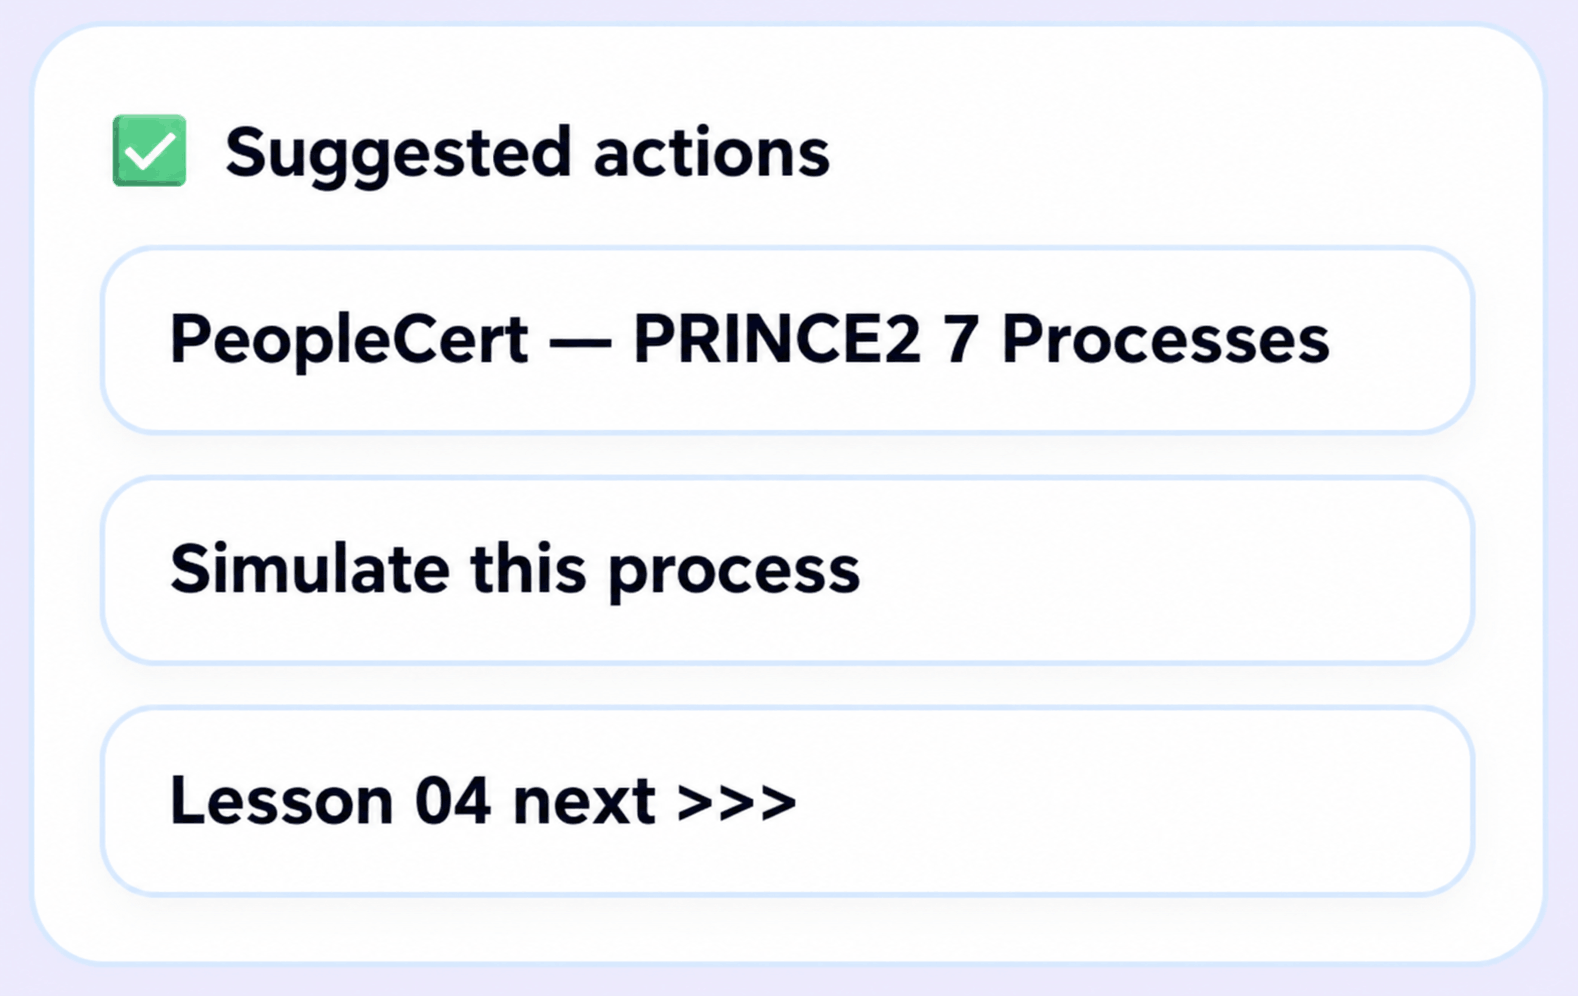
- Additional resources or links: for example access to documentation or an external resource.
- Interactive or generative actions: for example a simulation or contextual deeper learning.
- Learning navigation: for example opening the rest of the lesson or the next lesson.
- Suggested actions may differ from one lesson to another and from one course to another.
- When an action produces content or a response, the result is displayed in the central area.
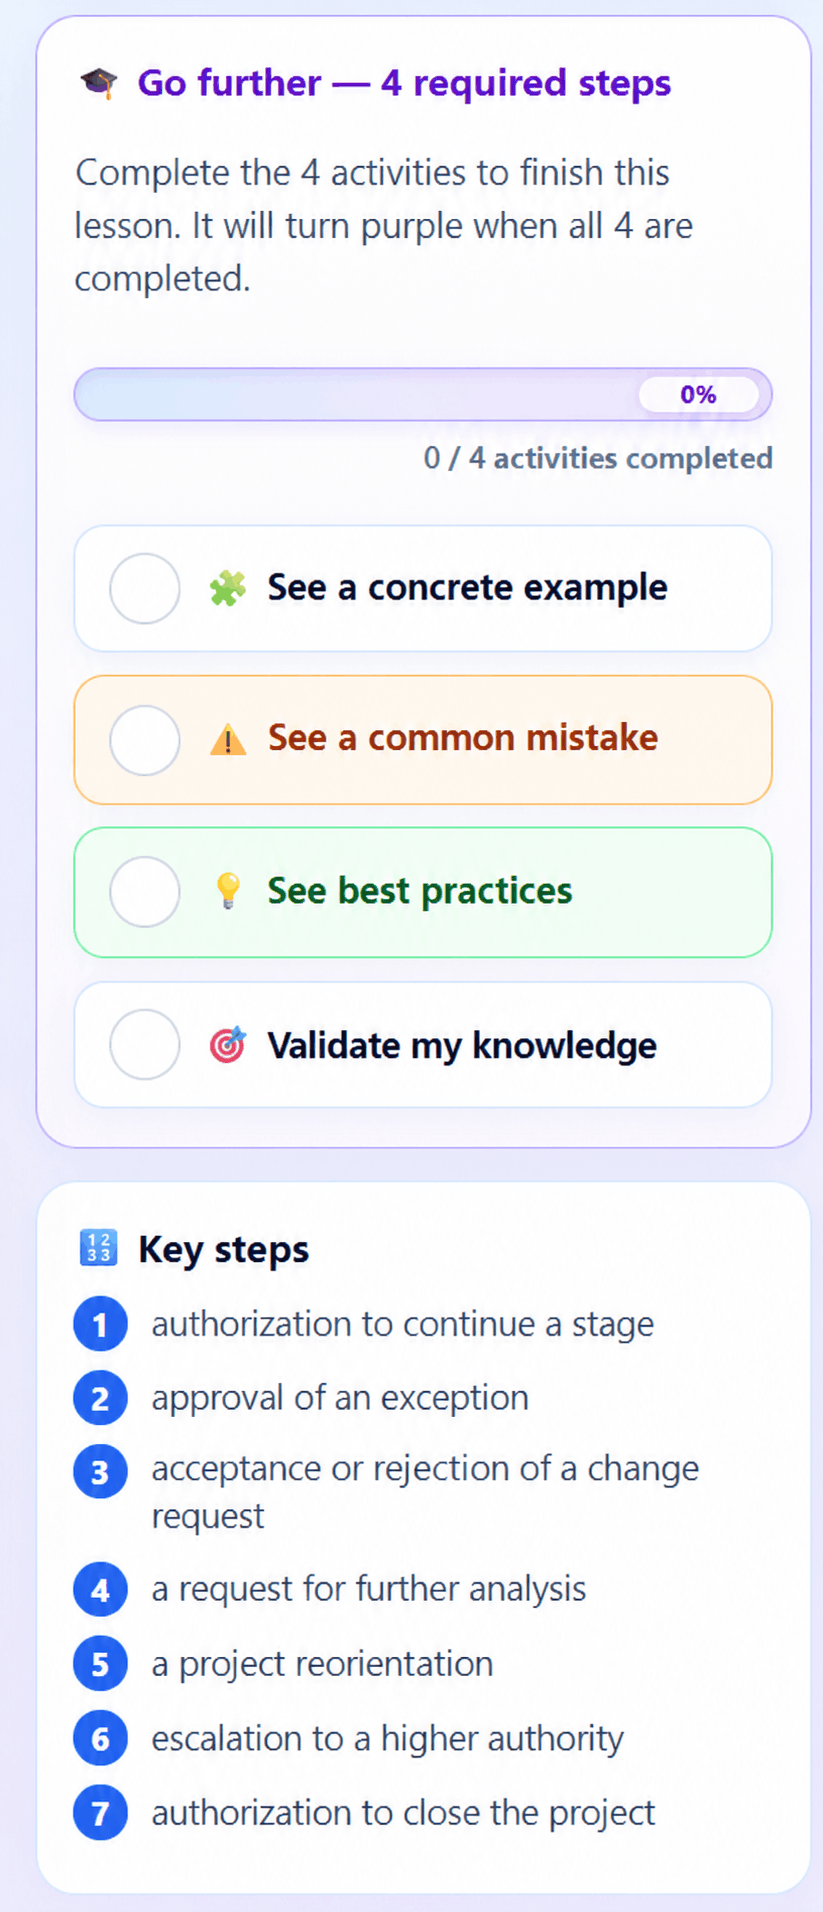
3.5 Go further
The Go further section is a mandatory complement for completing the lesson. It reinforces acquired knowledge and groups the activities required to validate the lesson.
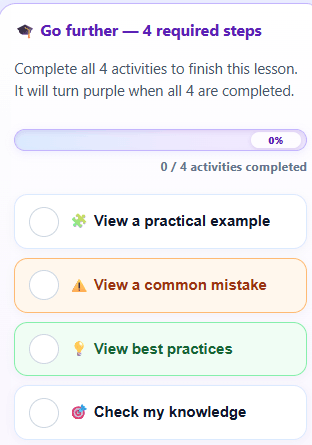
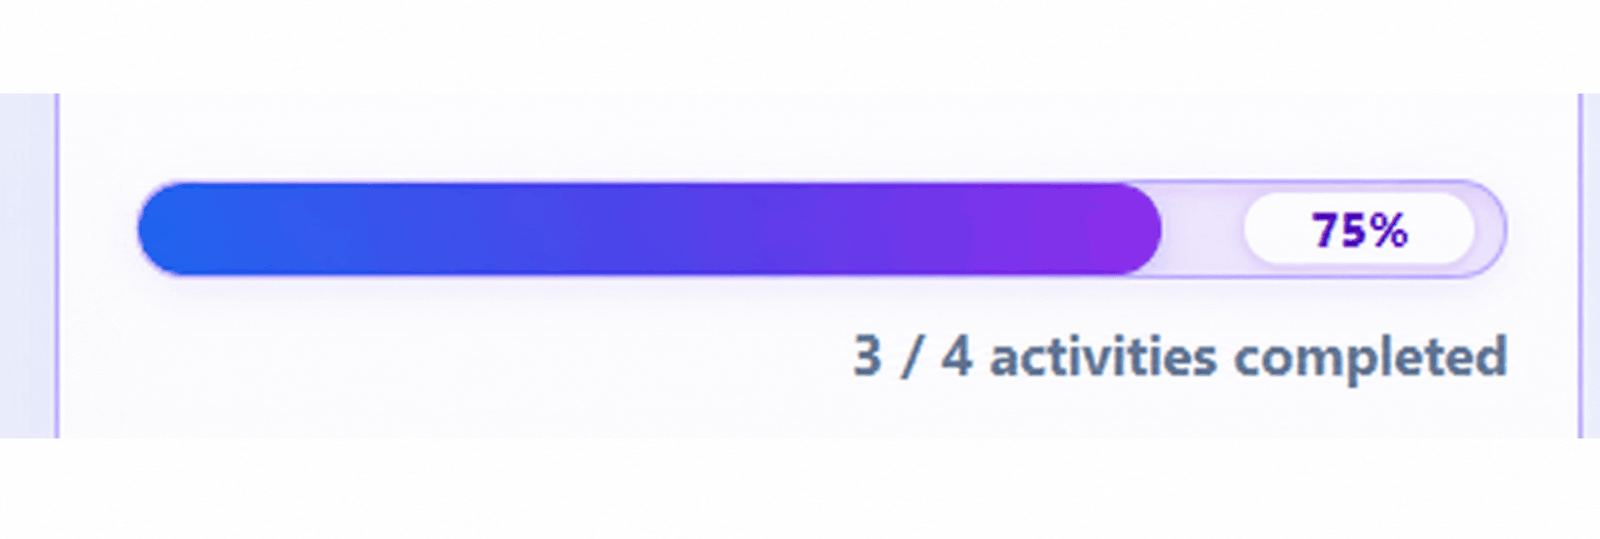
The panel displays a progress bar and the number of completed activities: 0 / 4, 1 / 4, 2 / 4, 3 / 4 and finally 4 / 4.
- View a concrete example
- View a common mistake
- View best practices
- Validate my skills
The first 3 activities before Skills validation
3.5.1 View a concrete example
This activity illustrates the lesson concept through a concrete professional situation. Once viewed, it is counted in the Go further progress.
3.5.2 View a common mistake
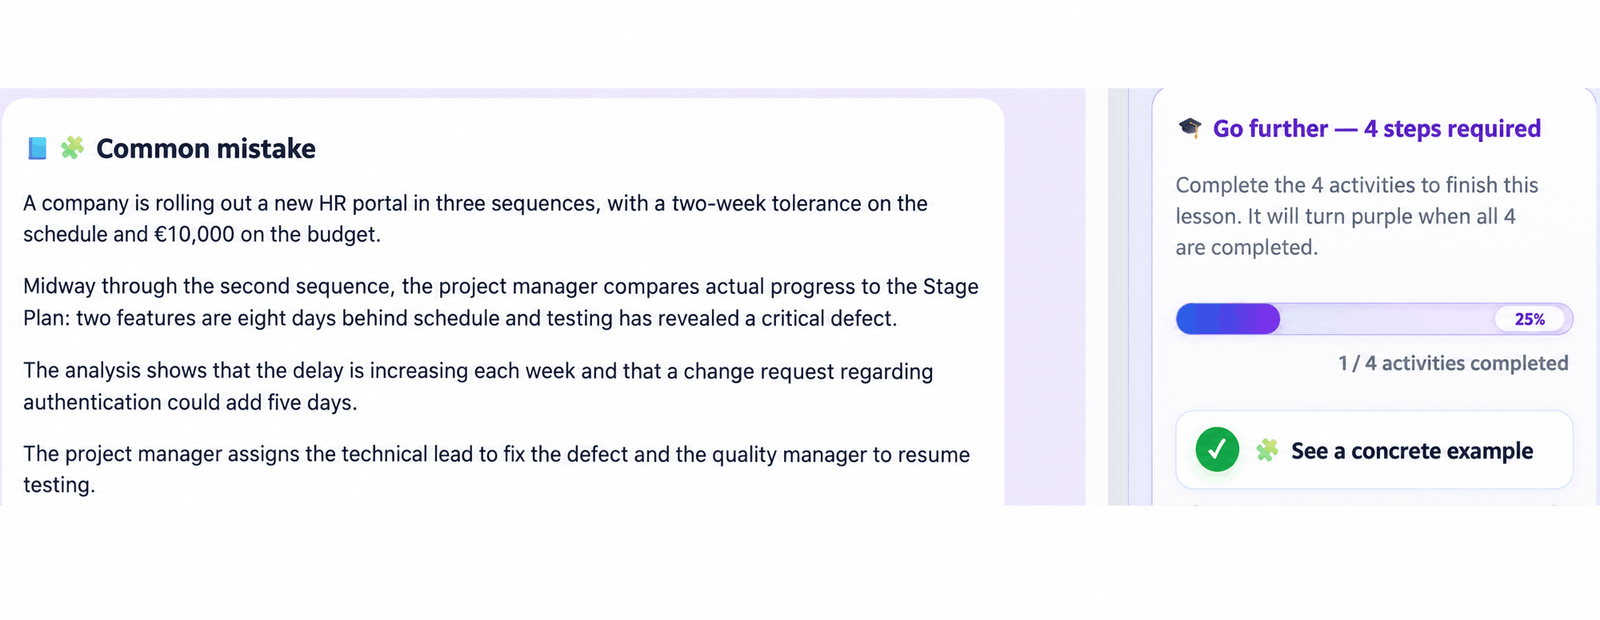
This activity presents a common mistake related to the lesson topic, its consequences and how to avoid it. Once viewed, it is counted in the Go further progress.
3.5.3 View best practices
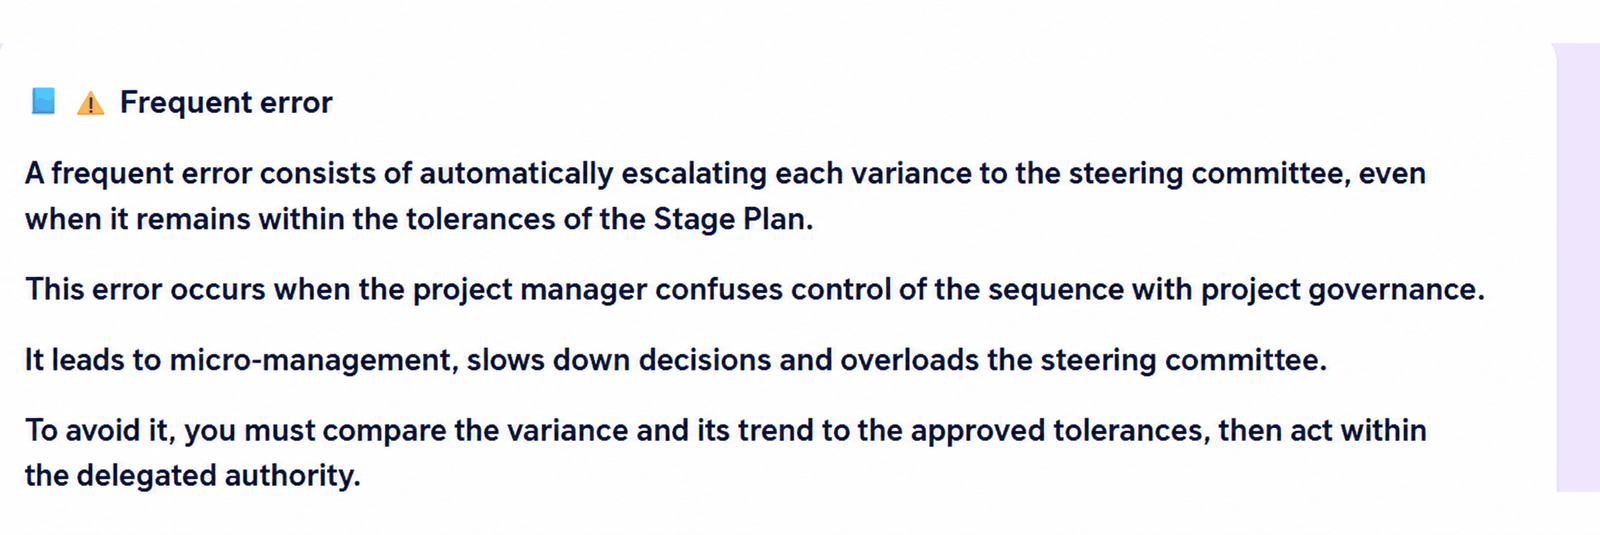
This activity summarizes the best practices to remember and apply in a professional situation. Once viewed, it is counted in the Go further progress.
Progress before Skills validation
After these three activities, the progress bar shows 75%, meaning 3 of 4 activities have been completed. Skills validation remains the fourth and final activity required to complete the lesson.
3.5.4 Skills validation — lesson quiz
Skills validation is the fourth and final activity in the Go further section. It is a 3-question multiple-choice quiz: all 3 answers must be correct to complete this activity.
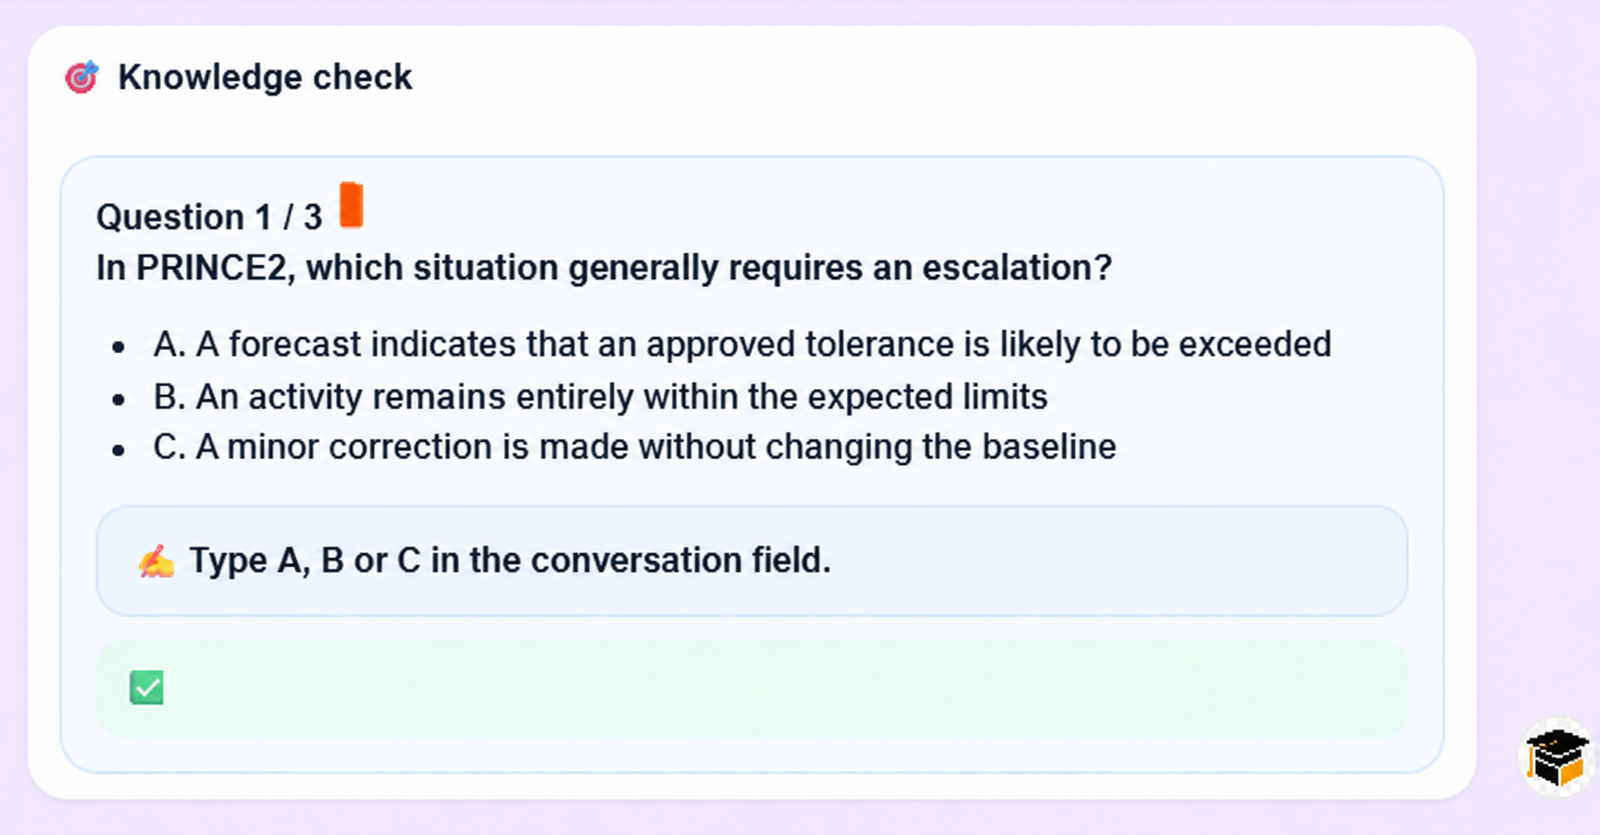
- Each question costs 2 credits.
- The answer is entered directly in the virtual tutor field by replying A, B or C.
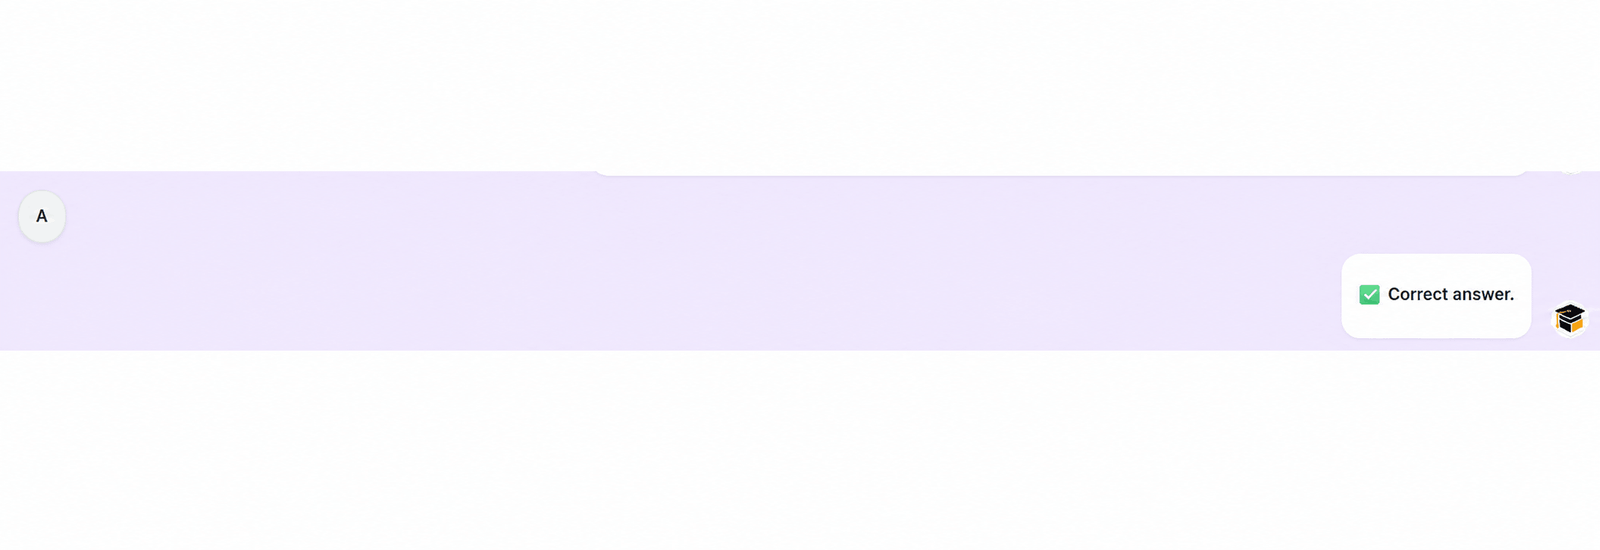
- If the answer is correct, the Learning Workspace displays “Correct answer” and moves to the next question.
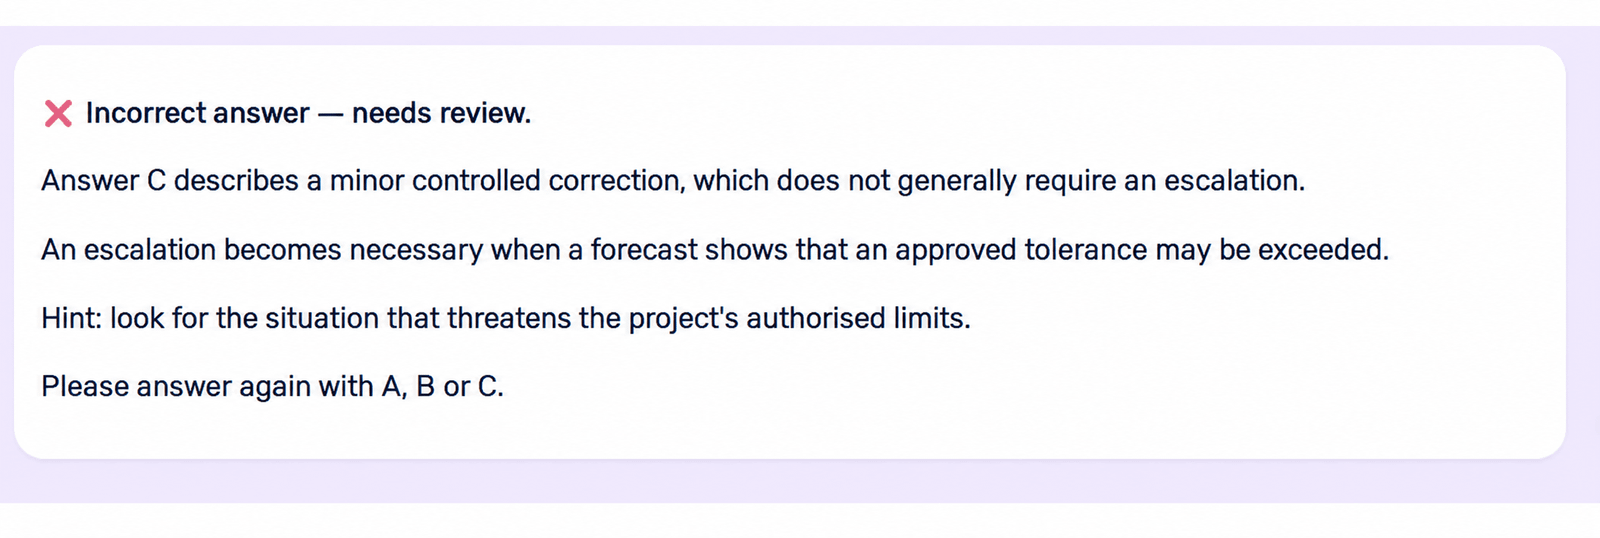
- If the answer is incorrect, the Learning Workspace explains the error and allows another attempt.
- A new attempt after an incorrect answer costs 1 credit.
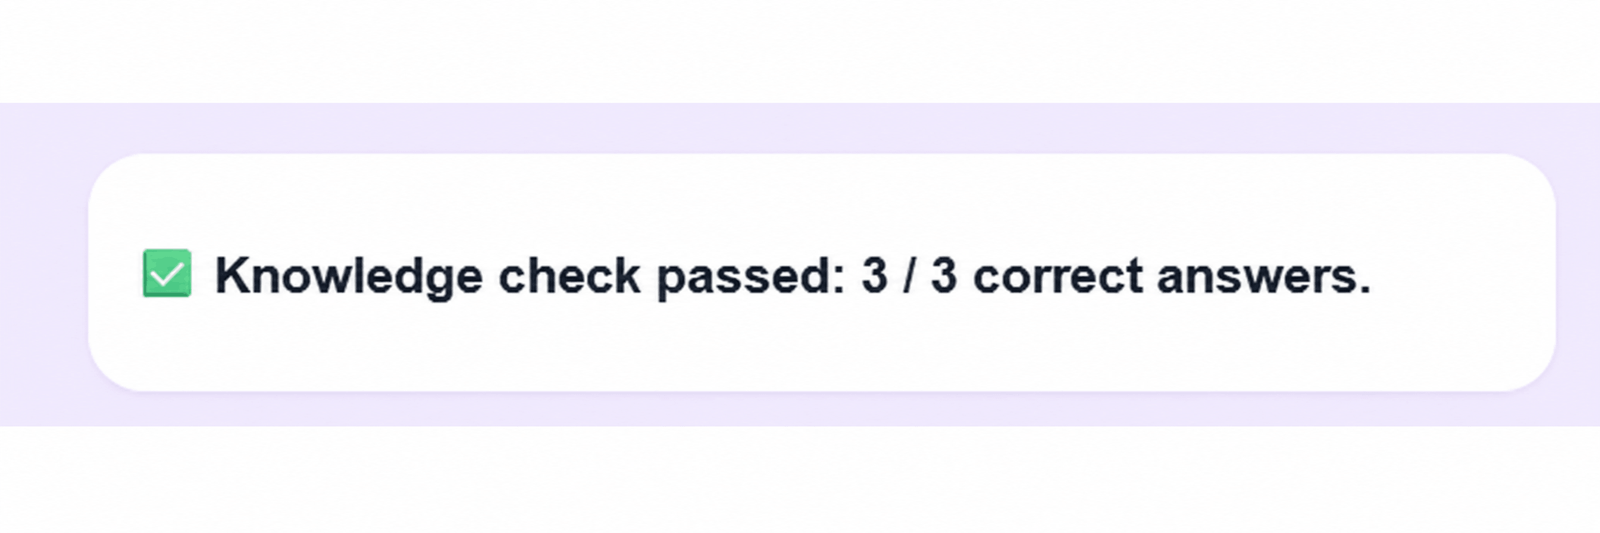
3.5.5 End of the Go further section — lesson completed
When Skills validation is passed, the Go further section reaches 100% and shows 4 / 4 completed activities. The lesson is then considered completed.
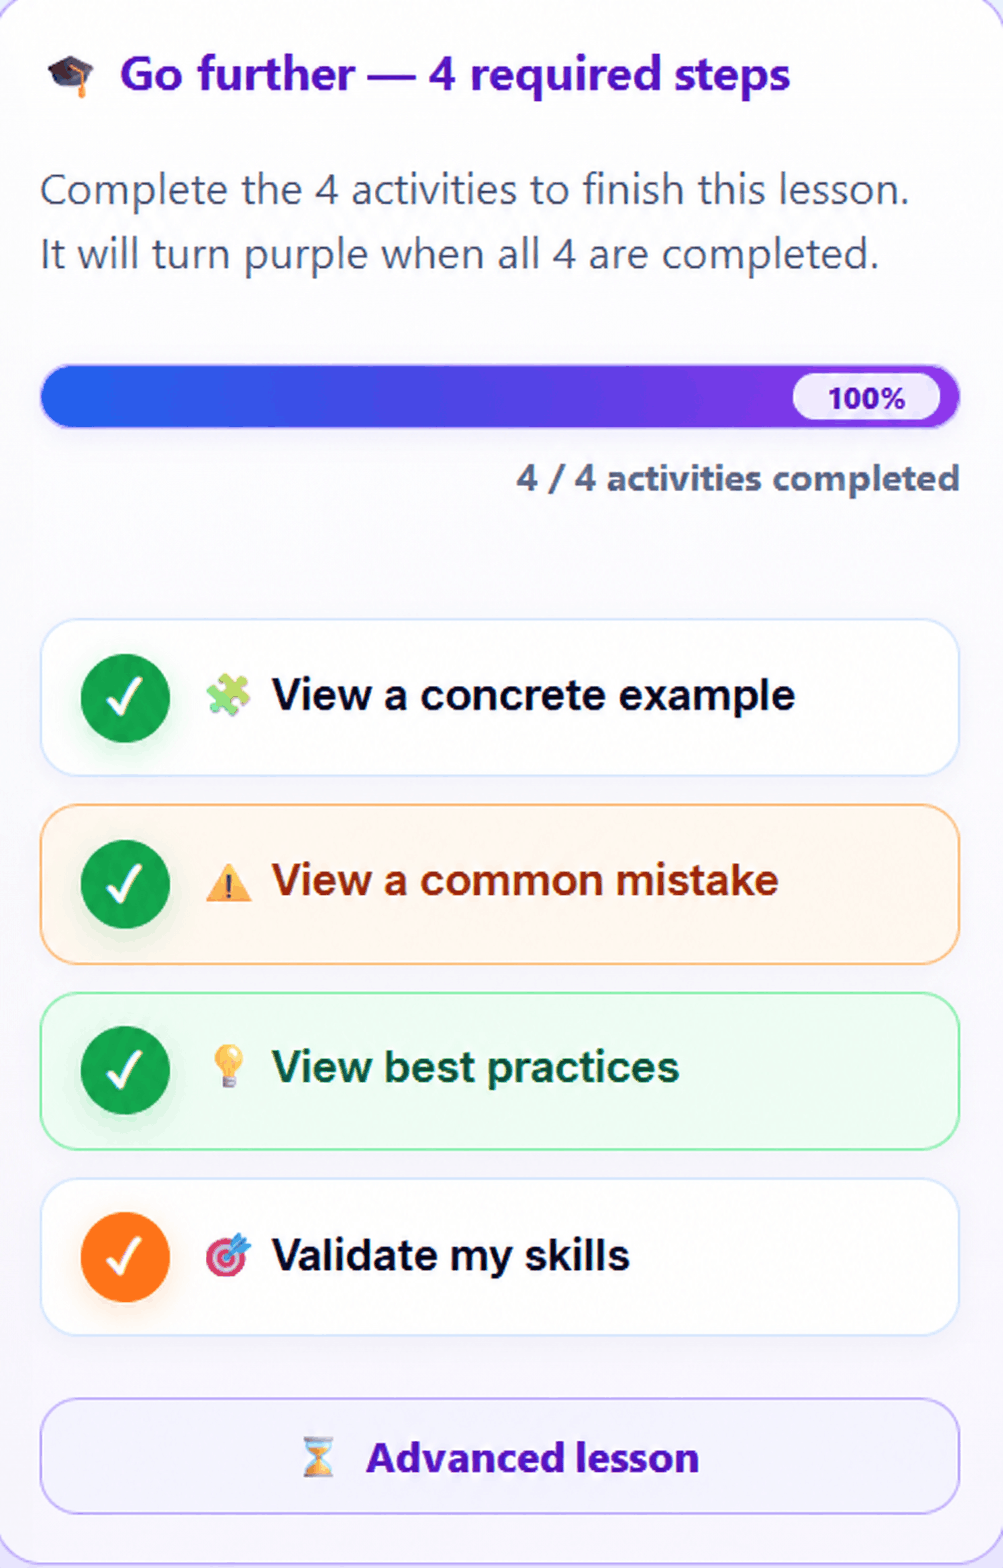
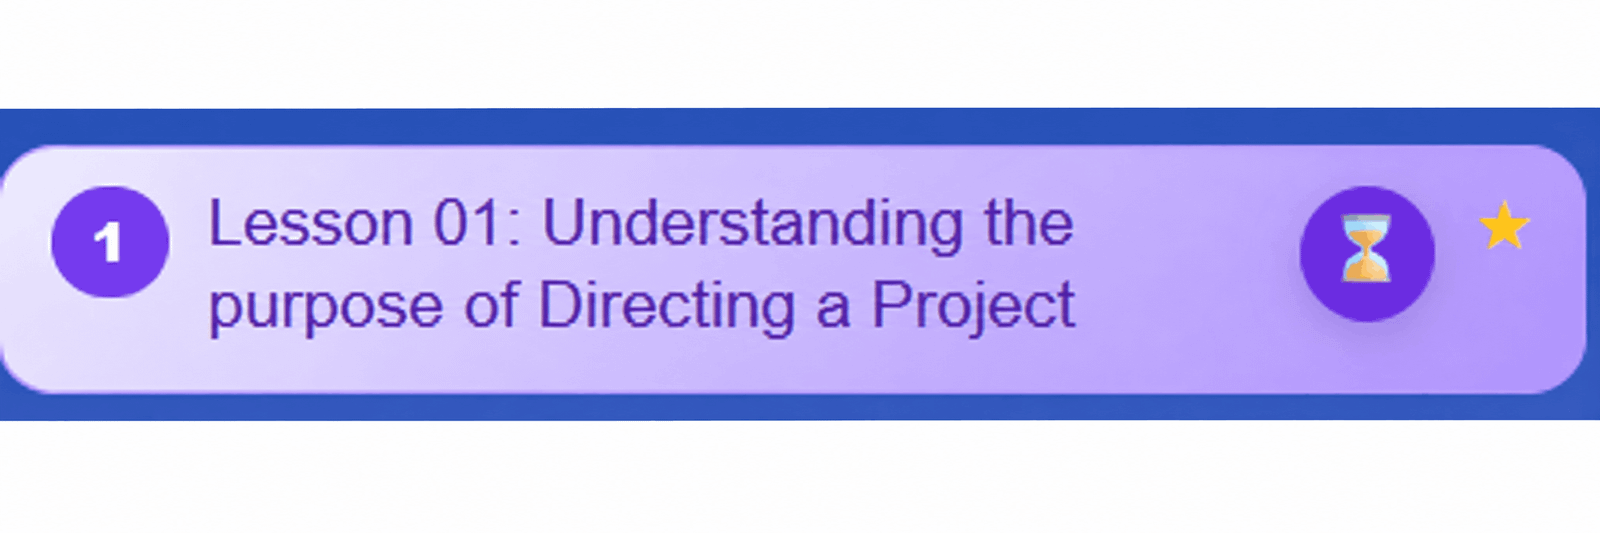
- All 4 activities are checked and the progress bar reaches 100%.
- The “Advanced lesson” button appears at the bottom of the Go further block.
- In the left menu, the completed lesson turns purple.
- This visual state indicates that the lesson is completed in the learning path.
Overall quiz and certificate
This part presents the course Overall quiz and the certificate of achievement. The Overall quiz remains available throughout the course and using it consumes no credits.
1. Course Overall quiz
The Overall quiz assesses the whole course. It is separate from the Skills validations completed inside each lesson and using it costs 0 credits.
1.1 Left menu — access and Overall quiz tracking
The course Overall quiz button is located in the left menu. Its tracking block displays the main progress information.
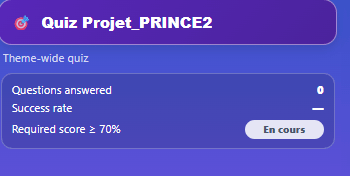
- Number of questions visited.
- Success percentage achieved.
- Quiz status: In progress or Completed.
- Required passing threshold for the course.
1.2 Right panel — answering the multiple-choice quiz
Click the Overall quiz button in the left menu to display the multiple-choice quiz in the right panel. The total number of questions may vary from one course to another.
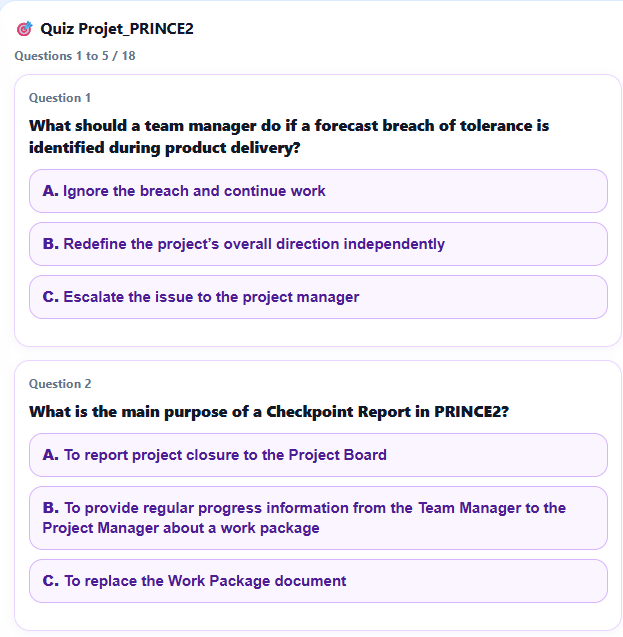
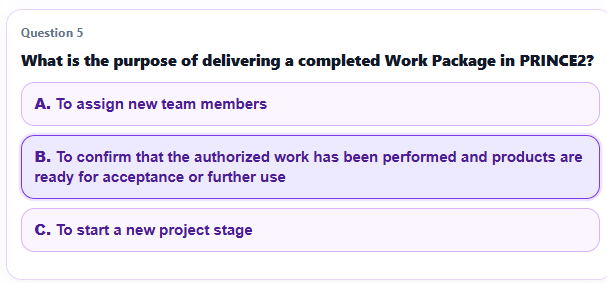

- Each question offers 3 possible answers: A, B or C.
- Click an answer to select it: its background turns purple.
- The selected answer is saved automatically.
- To move to the next page, every question displayed on the current page must have an answer.
- You can close the Quiz at any time: answers already given are kept.
Quiz in progress on the course card
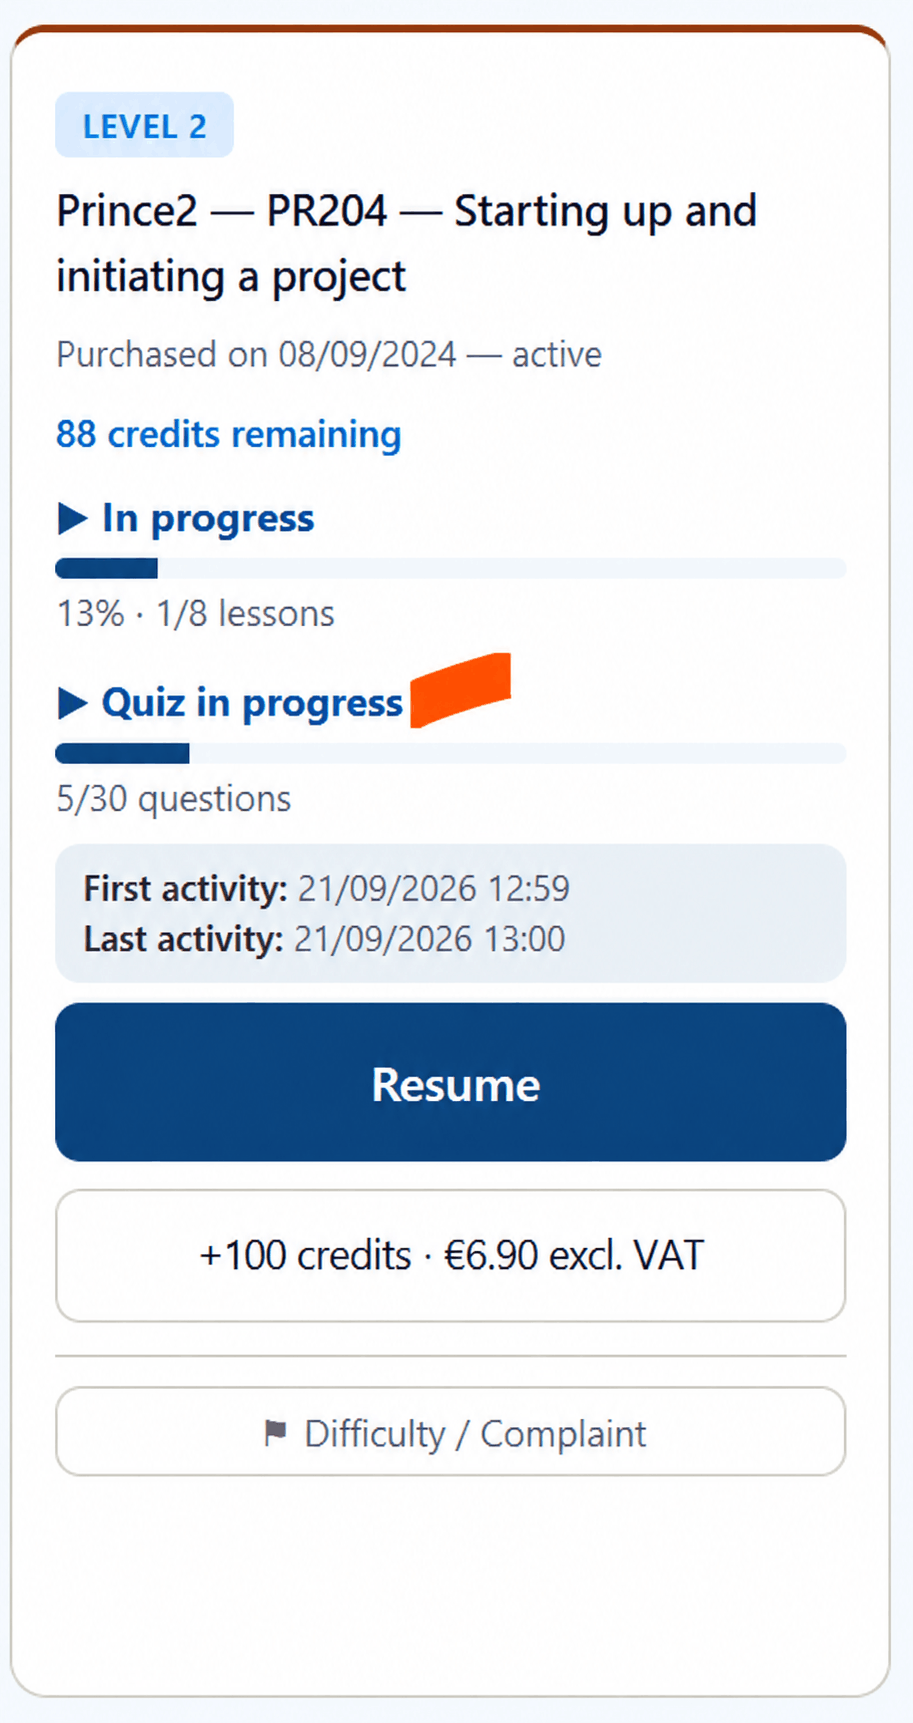
The course card can also display the “Quiz in progress” status together with the number of answers already saved, for example “5/30 questions”. This makes it possible to see immediately that a Quiz has been started but not yet finished.
1.3 Resume a Quiz — in-progress score tracking
When a Quiz is closed before completion, the answers already saved are kept. The learner can resume the Quiz later without starting again from the beginning.
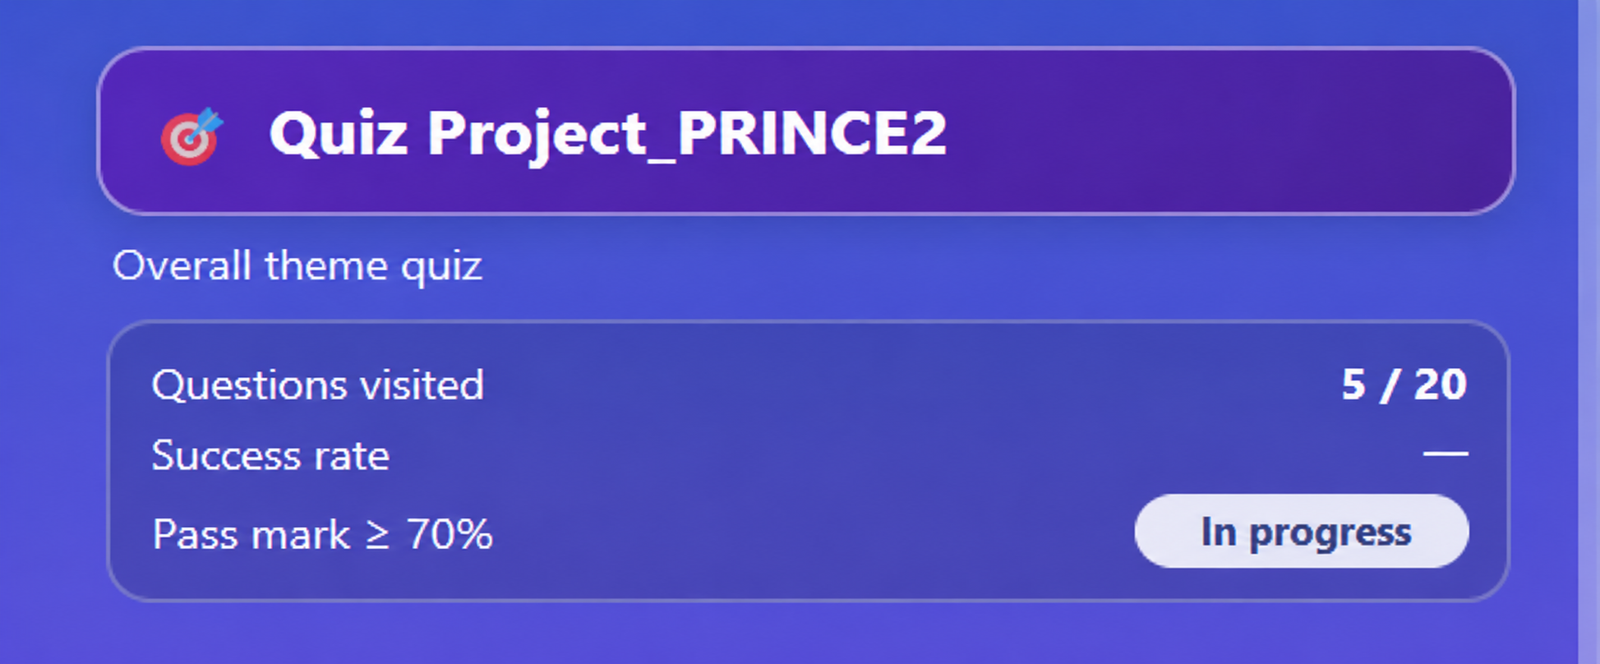
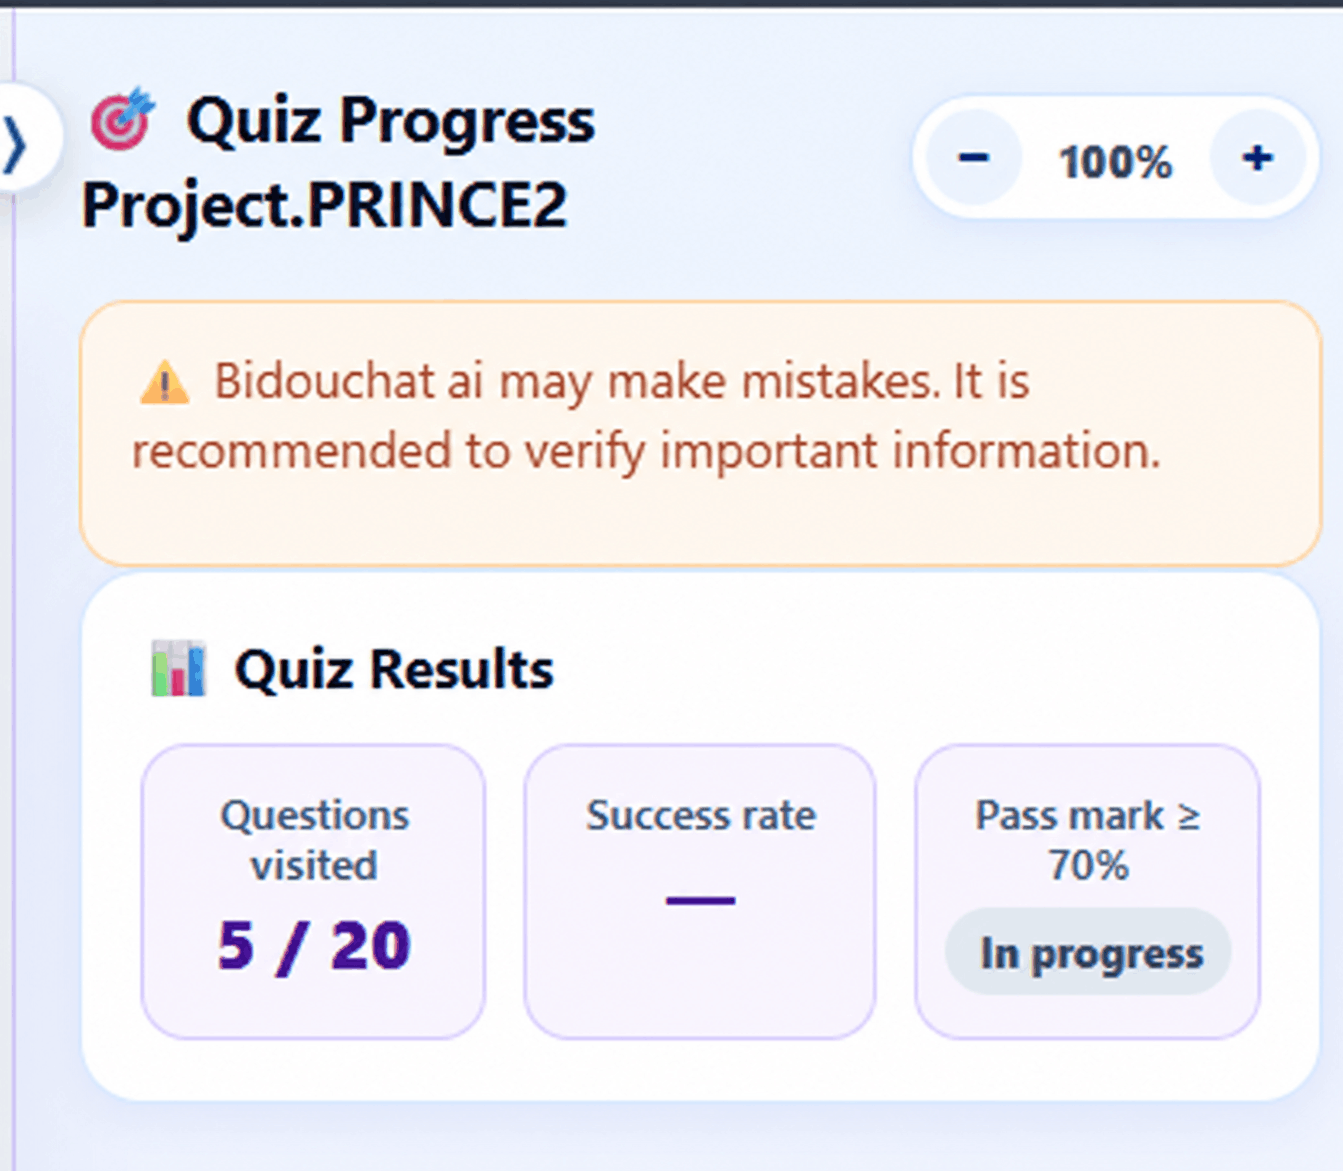
- In the left menu, the Quiz block shows the number of questions already visited and the “In progress” status.
- In the right panel, “Quiz tracking” shows the interim result: questions visited, success percentage when available, and validation status.
- Until the Quiz is completed, its status remains “In progress”.
- When reopening the Quiz, the learner finds the previously saved answers and continues with the remaining questions.
1.5 Finish the Quiz — final score and restart
Once all Quiz questions have been answered, the “Finish the quiz” button calculates the final result. The left menu and the right panel then display the score obtained, the success percentage and the validation status.

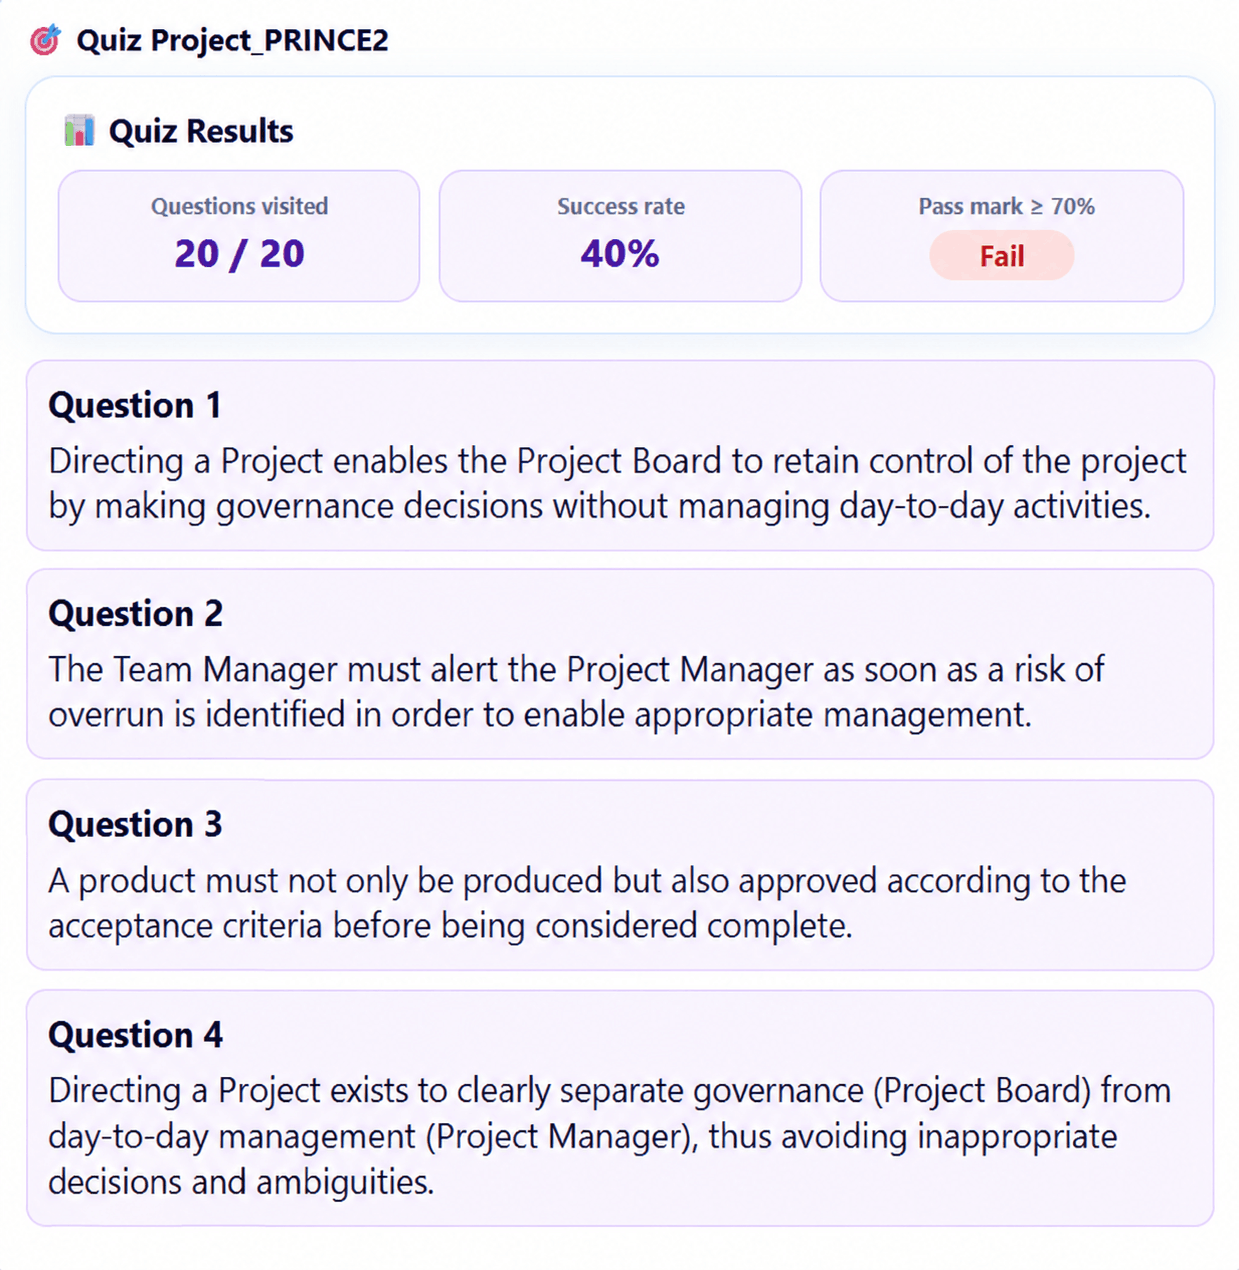
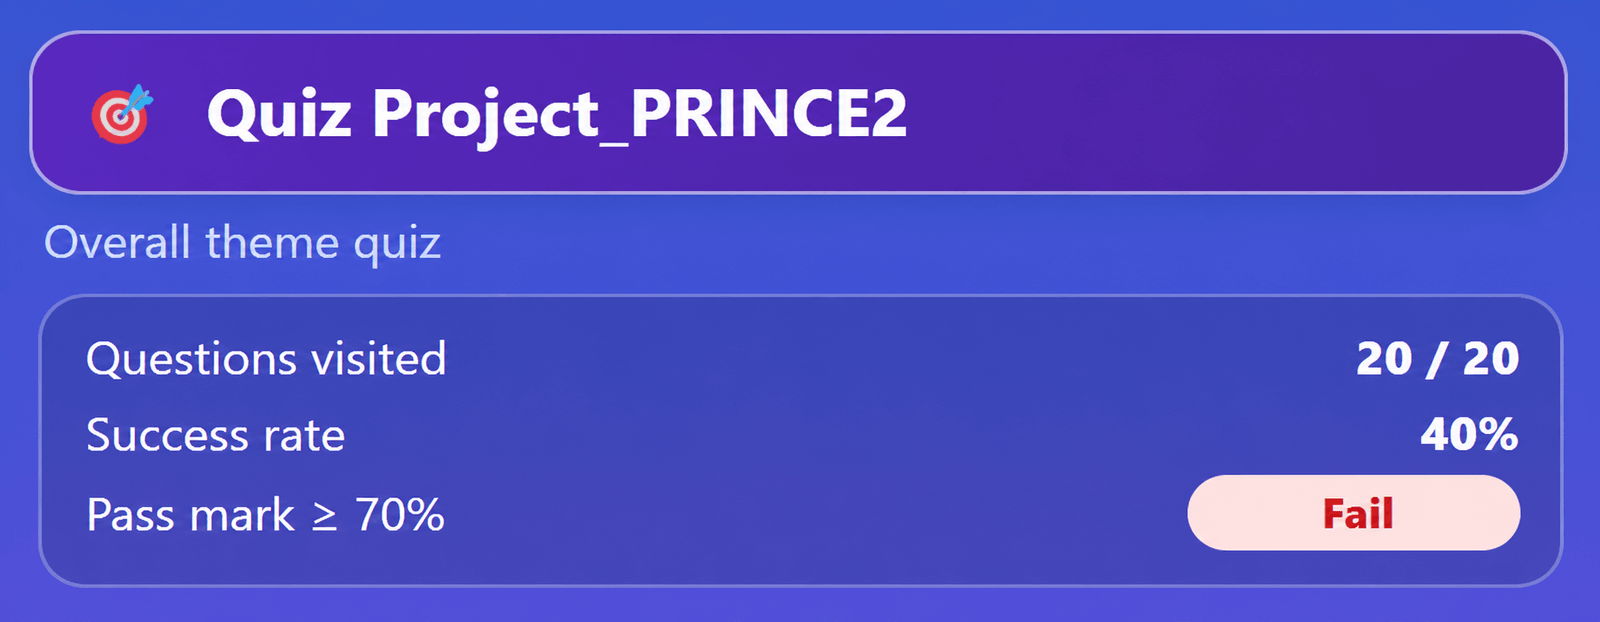

- In the left menu, the Overall quiz block summarizes Visited questions, Success % and the final OK or KO status.
- The expected threshold remains visible in this block: Validation ≥ 70%.
- In the right panel, the “Finish the quiz” button displays the Quiz result with the final score.
- The validation state appears clearly: OK if the threshold is reached, KO otherwise.
- Once finished, the Quiz also provides a question summary list to review the assessed notions.
- The “Restart the quiz” button starts a new attempt from the beginning.
1.6 Quiz passed — OK status
When the success percentage reaches or exceeds the validation threshold, the Overall quiz changes to OK status. The same result is visible in the left menu and in the Quiz result panel.
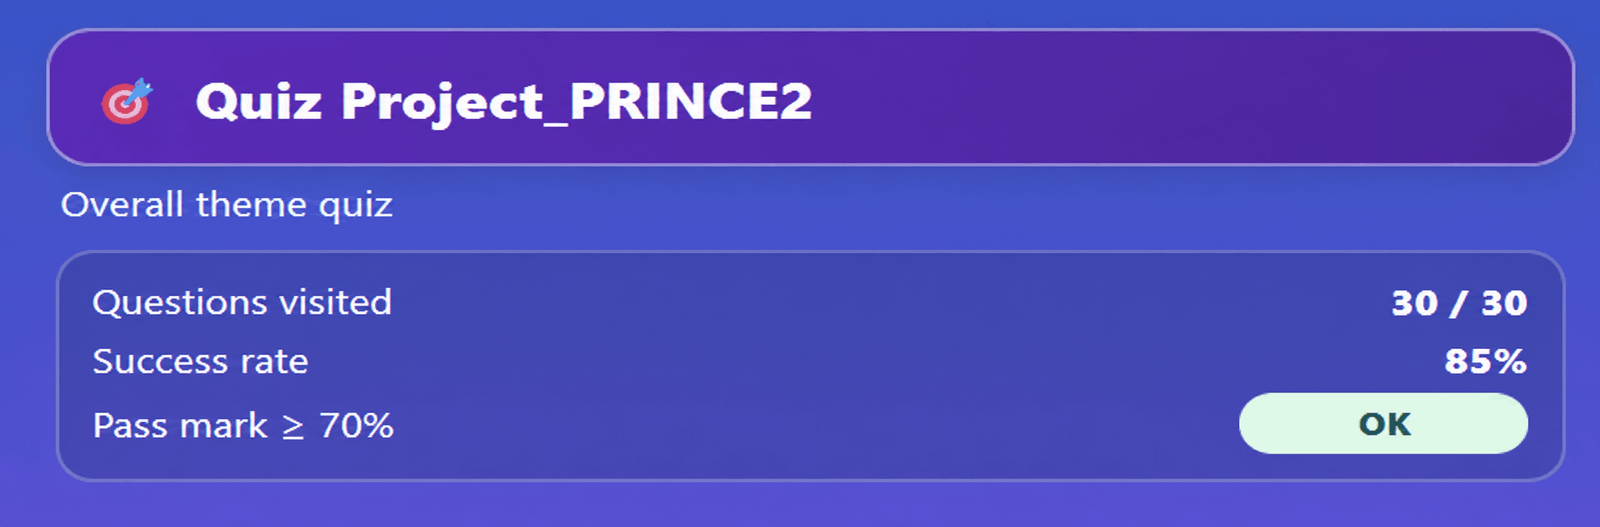
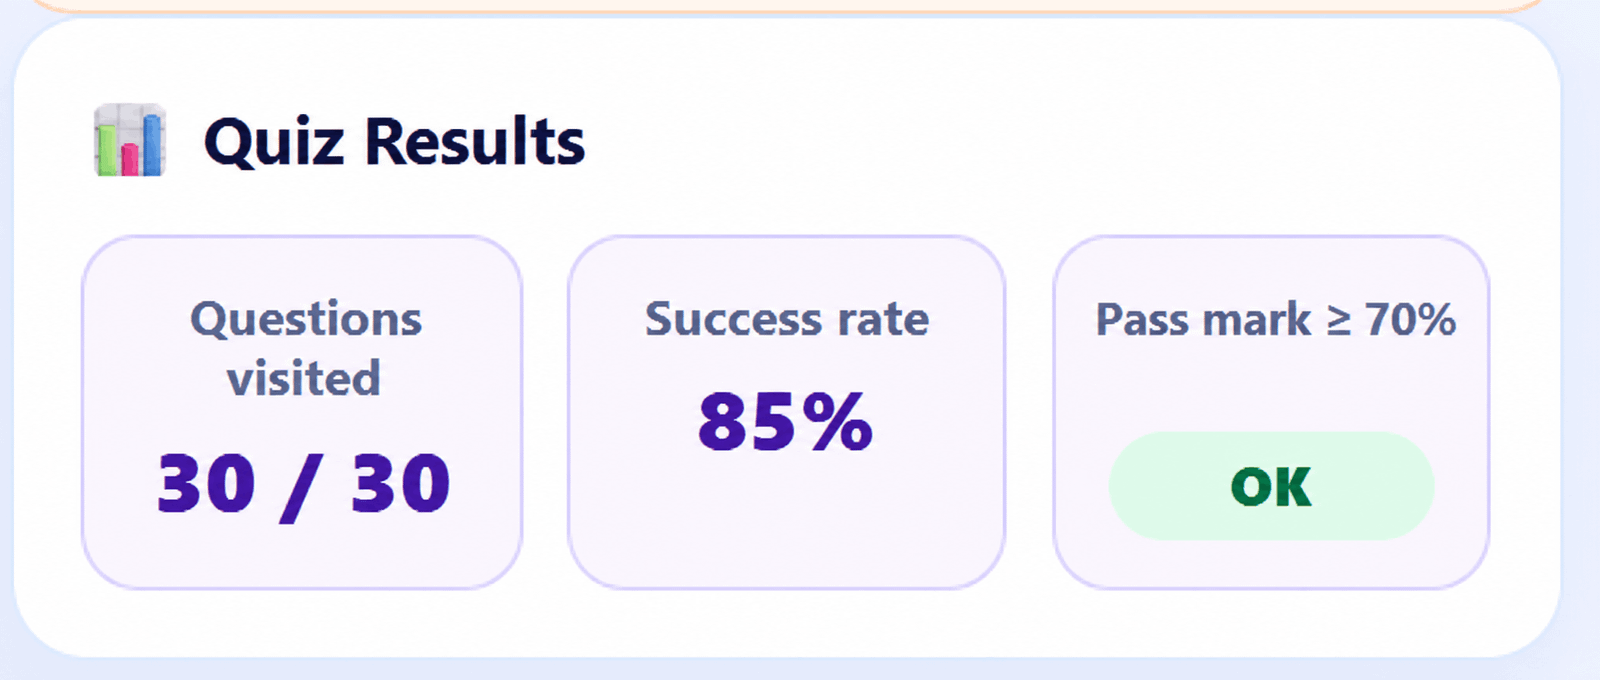
- Visited questions: all Quiz questions are counted, here 30 / 30.
- Success %: the final score is displayed, here 85%.
- Validation ≥ 70%: the status changes to OK and is displayed in green.
- The Overall quiz is then considered passed.
2. Certificate of achievement
The certificate is issued when all course completion conditions are met: the lessons must be completed and the Overall quiz must reach the required minimum score.
2.1 Conditions for issuing the certificate
The certificate can be issued only if the Overall quiz has been passed and if all lessons in the course have been completed. The lessons must then appear with a purple badge, ensuring a thorough learning path.
- The Overall quiz must be passed with the required minimum score.
- All course lessons must be completed: a completed lesson appears with a purple badge in the left menu.
- A purple lesson means that both its content and its Go further section have been fully completed.
- A passed Overall quiz is therefore not enough on its own: the whole learning path must also have been genuinely completed.
2.2 Certificate status on the course card
The course card also shows the status of the certificate. It lets the learner immediately see whether the final conditions are fully met or whether some elements are still missing.
- The course card may display a status message related to the certificate.
- When all conditions are not yet fulfilled, it reminds the learner of the expected action.
- Example message: “Complete the lessons to unlock your certificate.”
2.3 Certificate issuance and download
When all requirements are met, the Certificate PDF button appears on the course card. The generated certificate includes the learning path completed, the Overall quiz result and the issue date. The example shown in this guide is anonymized.
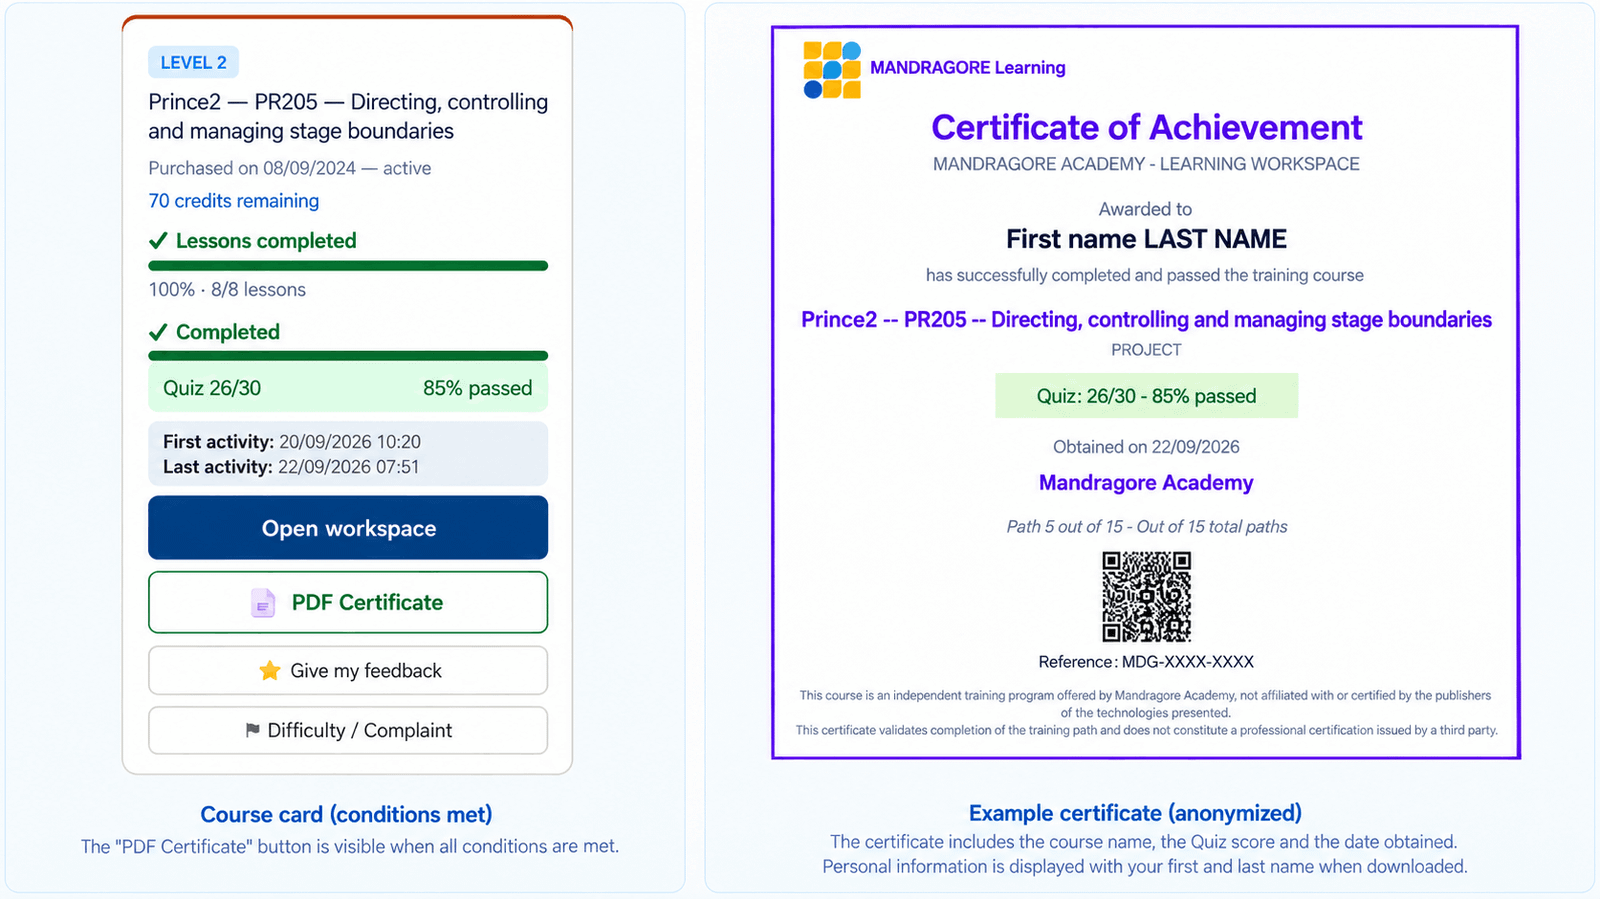
- The Certificate PDF button becomes available on the course card once all requirements are met.
- Clicking this button generates and downloads the certificate of achievement as a PDF.
- The certificate includes the completed learning path, the Overall quiz result, the issue date and a verification reference.
- In the Help guide, identity details, the reference and the QR code are anonymized.
If a training pack has been purchased and every course in that pack has received its own certificate, the system also generates an overall training certificate. This certificate becomes available from the pack card.
Credits
Each course has its own credit wallet. Paid activities use credits as they occur. A top-up adds credits to that course without erasing earlier usage.
4.1 Two complementary indicators
“Credits used”, in the Workspace header, shows cumulative credits actually used since the initial purchase, including usage before and after top-ups. “Credits remaining”, on the dashboard course card, shows the available balance. Both persist when you close and reopen the Workspace.
4.2 Top-up example
| Operation | Used | Remaining |
|---|---|---|
| Initial purchase of 100 credits | 0 | 100 |
| 20 credits used | 20 | 80 |
| Top-up of 100 credits | 20 | 180 |
| Another 4 credits used | 24 | 176 |
4.3 Paid and free activities
| Activity | Cost and conditions | Status |
|---|---|---|
| First opening of a lesson | 4 credits on first opening; reopening is free, even if the lesson is not completed. | Required |
| Go further — Concrete example, Common mistake, Best practices | 1 credit for each of the 3 activities on first use; free reuse of that same activity within the lesson (green check). | Required |
| Go further — Knowledge Validation | 2 credits to start the 3 questions; an additional 1 credit for each support response after an incorrect answer. The orange check does not make later attempts free. | Required |
| Lesson guided buttons and generative options | Variable cost of 2 to 4 credits depending on response length; options that only open a link are free. An action with a green check can be reused free within that lesson. | Optional |
| Course Overall quiz | 0 credits, including resuming or restarting. | Required for the certificate |
| Web, Image or Video search | 2 credits per batch of results, including subsequent batches. | Optional |
| Opening links, navigation, existing resources | 0 credits. | Optional |
| Free-form tutor question | Variable cost depending on the response, maximum 4 credits. | Optional |
4.4 Insufficient or exhausted credits
If an operation costs more than the available balance, it cannot be charged and “Insufficient credits” appears. If its cost equals the balance, it may use the final credits. Once the balance reaches zero, the Workspace displays “Credits exhausted”, “Top up this workspace to continue” and “Return to dashboard”. The dashboard also shows an orange warning. Further paid operations require a top-up.
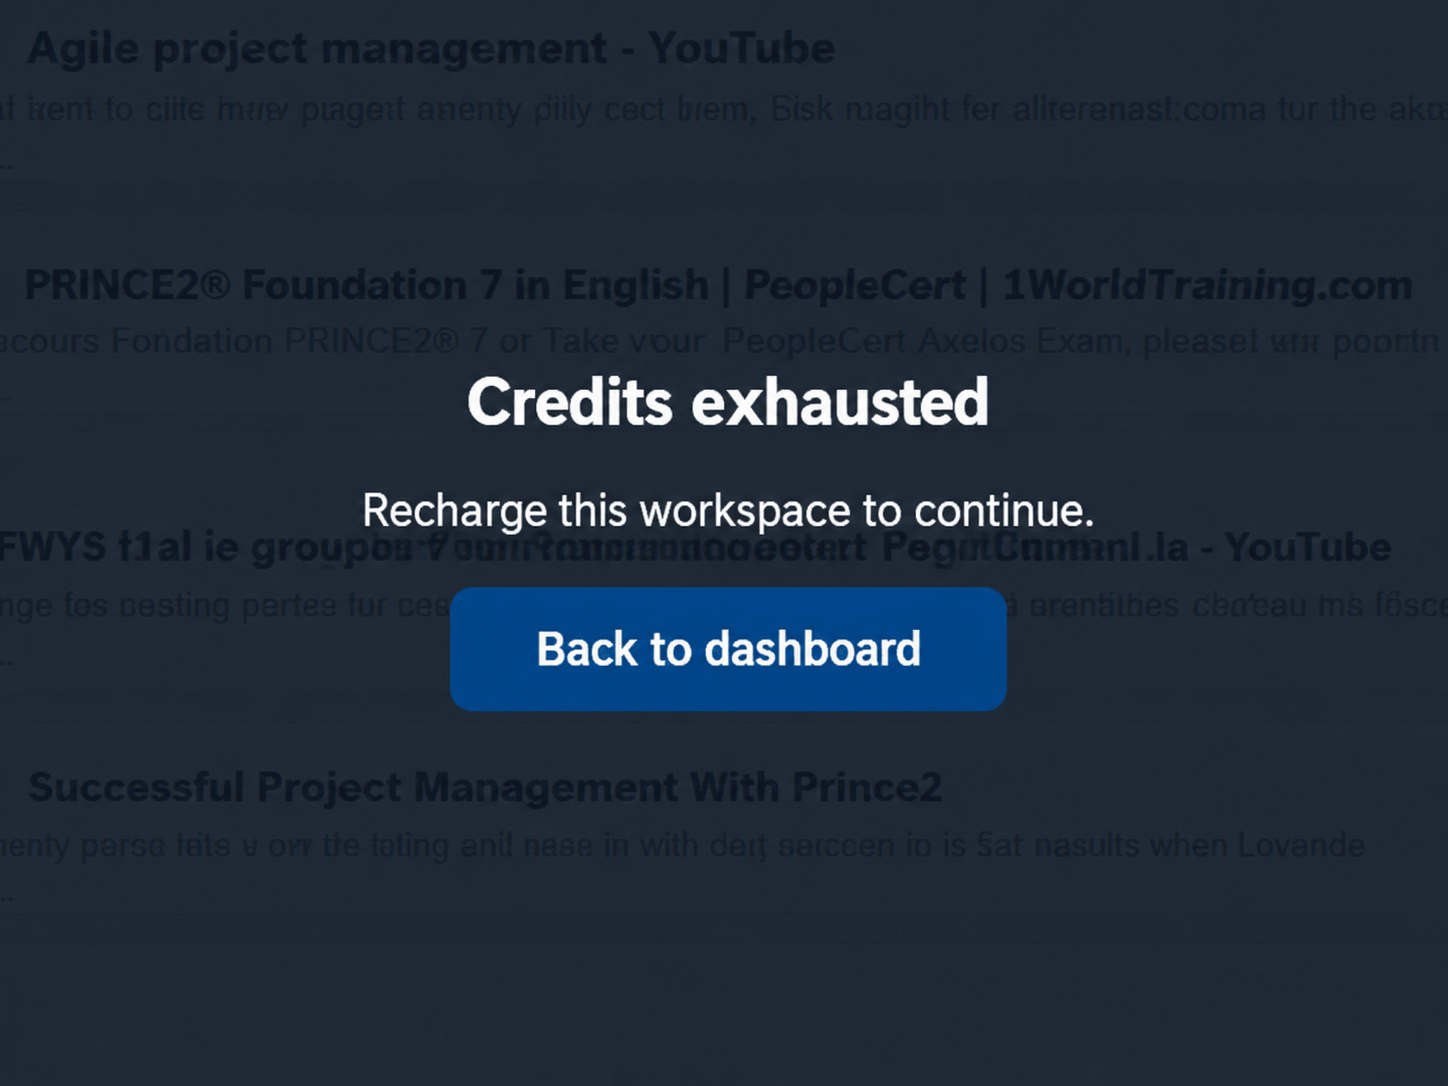
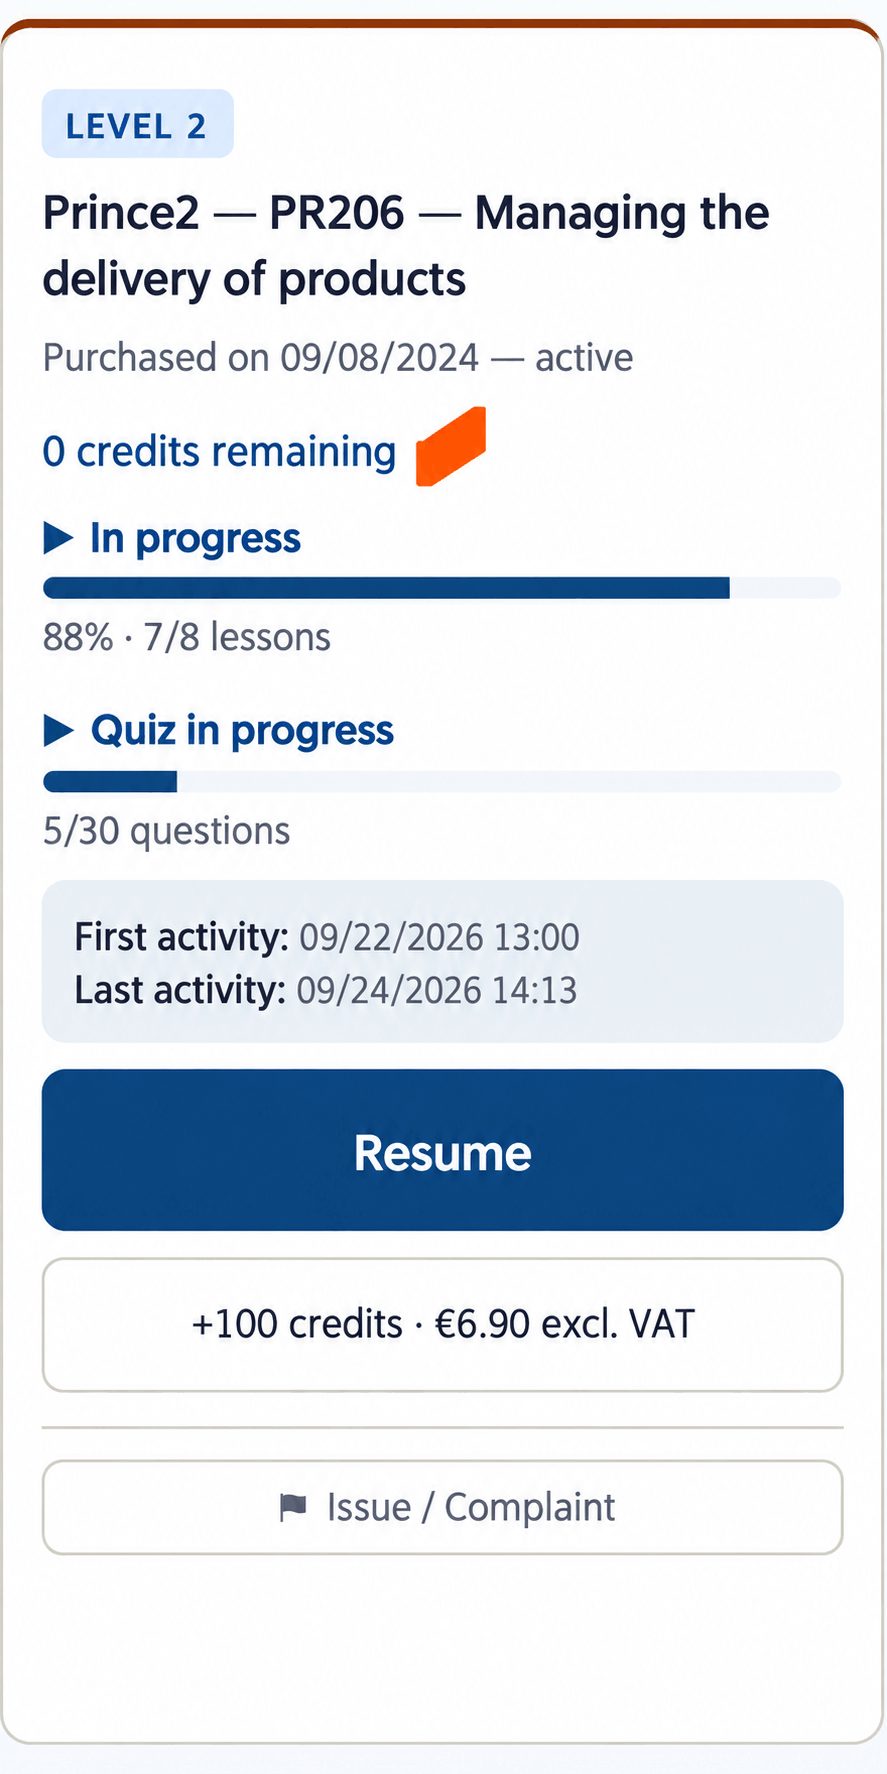
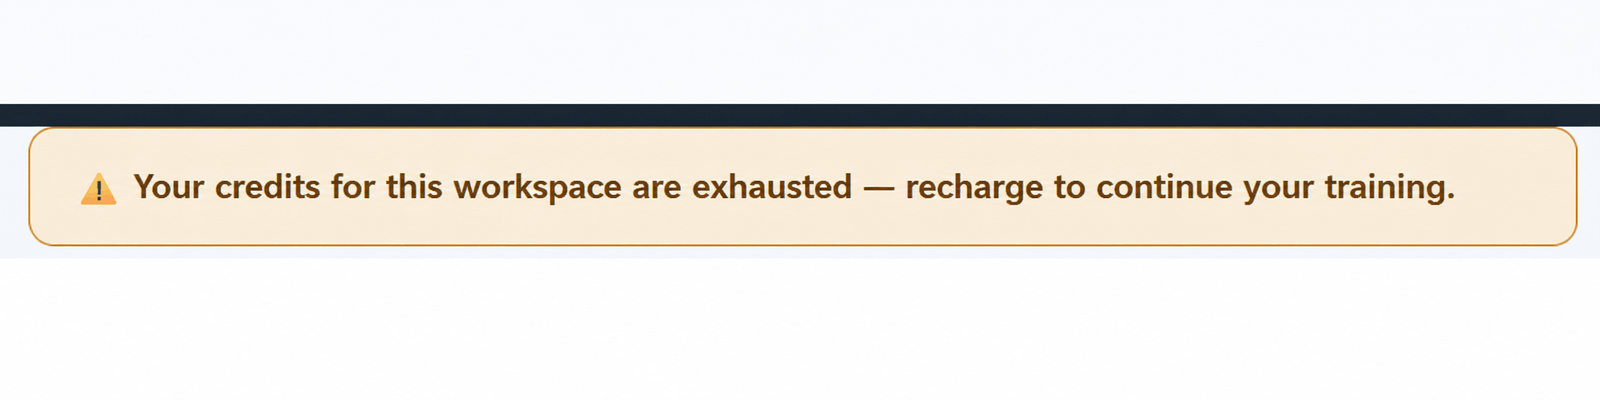
Screenshots show the French-language interface: credits-exhausted overlay, zero-balance course card and orange dashboard warning.
4.5 Top up a course
On your dashboard, use the top-up button on the relevant course card (for example “+100 credits”). Once payment is confirmed, the credits are added to the selected course’s existing balance. The credits-used counter does not reset. Each course has its own wallet.
4.6 Purchase history and help
View purchases, top-ups and invoices in your account. If a balance or top-up looks incorrect, use the “Issue / Claim” button on the relevant course card.
Learning Workspace accessibility
The left menu contains three independent, optional settings: voice reading, text legibility and prompt input mode. Each learner can adapt them to their needs, subject to the chatbot options enabled and browser capabilities.
5.1 Accessibility & voice — listen to content
Enable voice reading to listen to learning content and tutor answers. On-demand reading is separate from the microphone: listening does not start dictation.
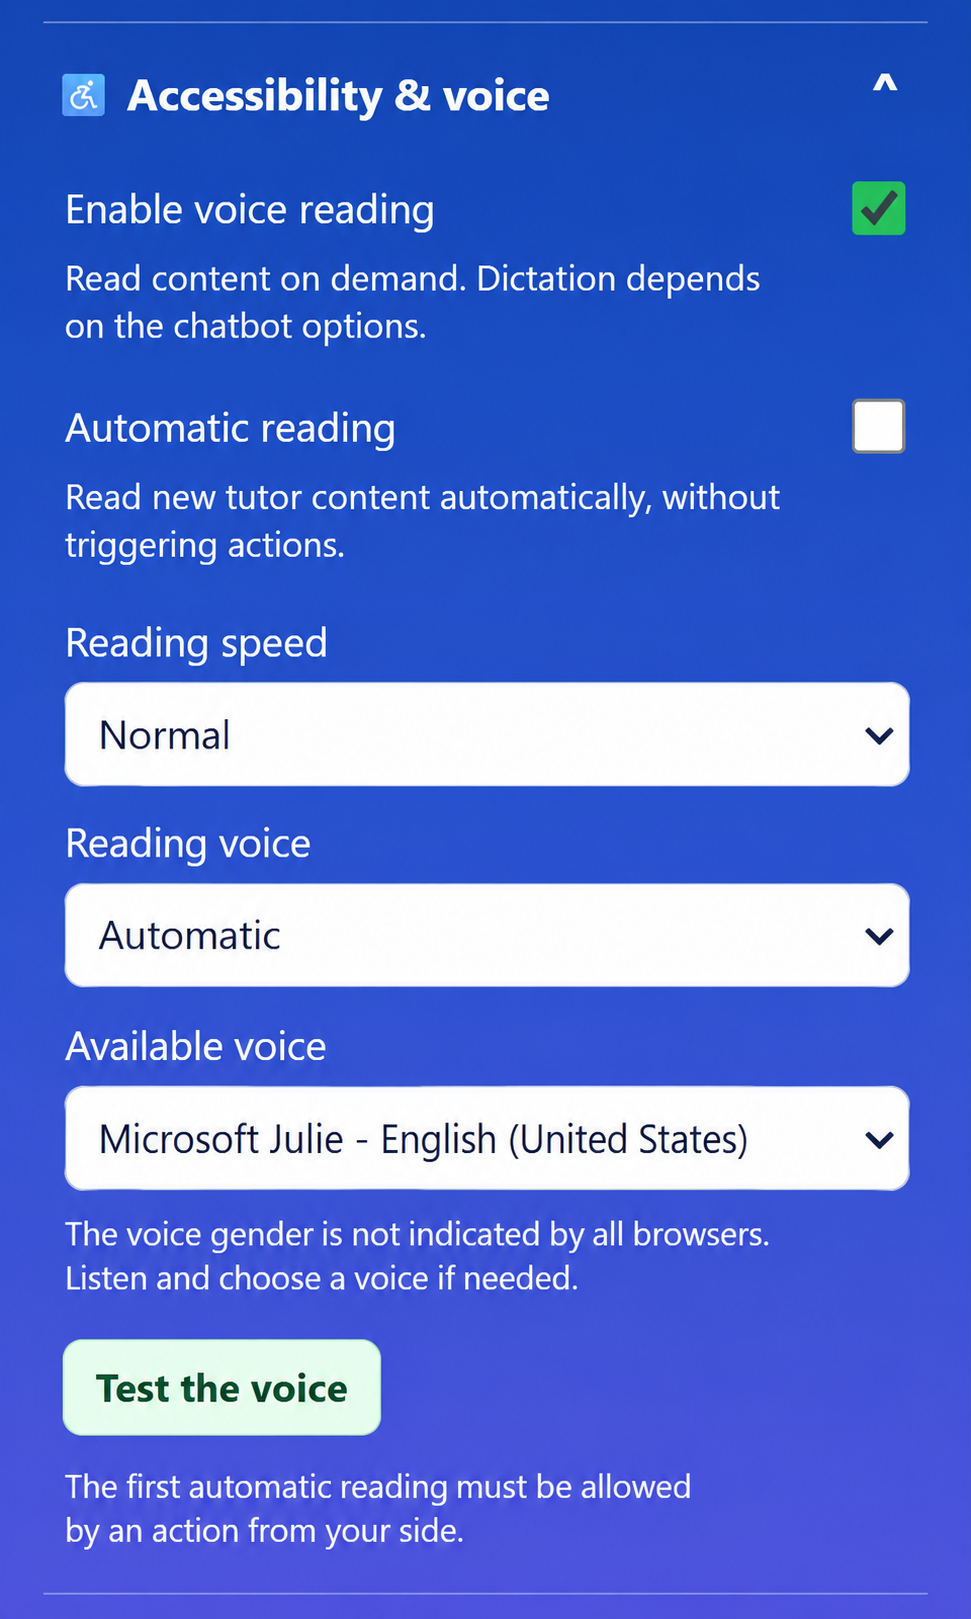
- Enable voice reading: allows text-to-speech for supported Workspace content.
- Automatic reading: reads new tutor content without triggering any learning action. The learner must first authorise automatic playback with a click.
- Reading speed: choose a slow, normal or fast rate.
- Reading voice: Automatic lets the browser choose. If several voices are available, select one and use Test voice.
- Listen, Pause, Resume and Stop controls manage playback for supported content.
Remember: on-demand reading, speed and voice can be adjusted at any time. Reading does not validate activities or submit answers for the learner.
Caution: the first automatic playback generally needs a prior interaction. The browser and operating system determine which voices are available; their gender is not consistently reported.
Technical limitation: adding a language to the reader does not guarantee that a matching voice is installed. Check the system voices and use “Test voice” if the desired voice is missing.
5.2 Accessibility & text — improve legibility
These settings improve reading comfort without changing the lesson flow or credits. The chatbot’s configured font is preserved.
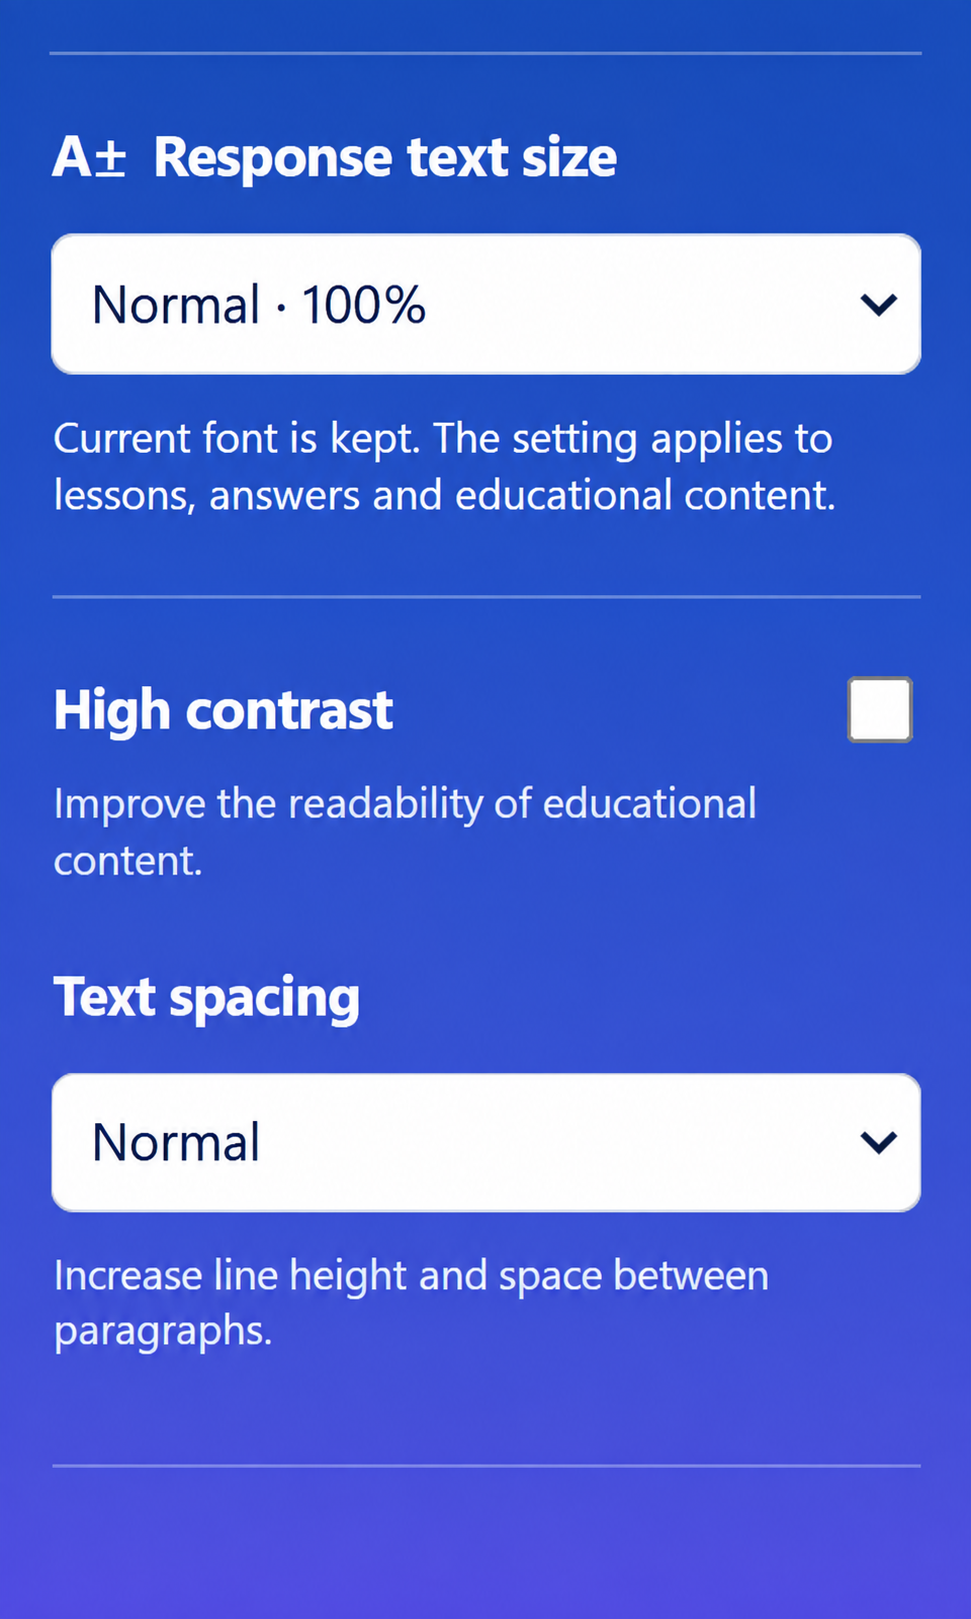
- Response text size: changes the display size of lessons, answers and learning content. Normal is 100%.
- Enhanced contrast: improves the legibility of learning content when the default colours are insufficient.
- Text spacing: increases line and paragraph spacing; choose Normal or a more generous setting.
- Workspace zoom and browser zoom can complement these settings, but do not replace them.
Tip: start with Normal size, then adjust size, contrast and spacing separately. These settings never validate a learning activity.
Caution: strong enlargement can change line wrapping and require more scrolling on small screens.
Display limitation: rendering may vary by browser, operating system, resolution and zoom. Adjust zoom or spacing if content is hard to read.
5.3 Prompt — type, dictate or use hands-free mode
The tutor field remains available for typed questions. Choose just one voice input mode in the left menu: Off, Dictation or Hands-free. Dictation is separate from voice reading.
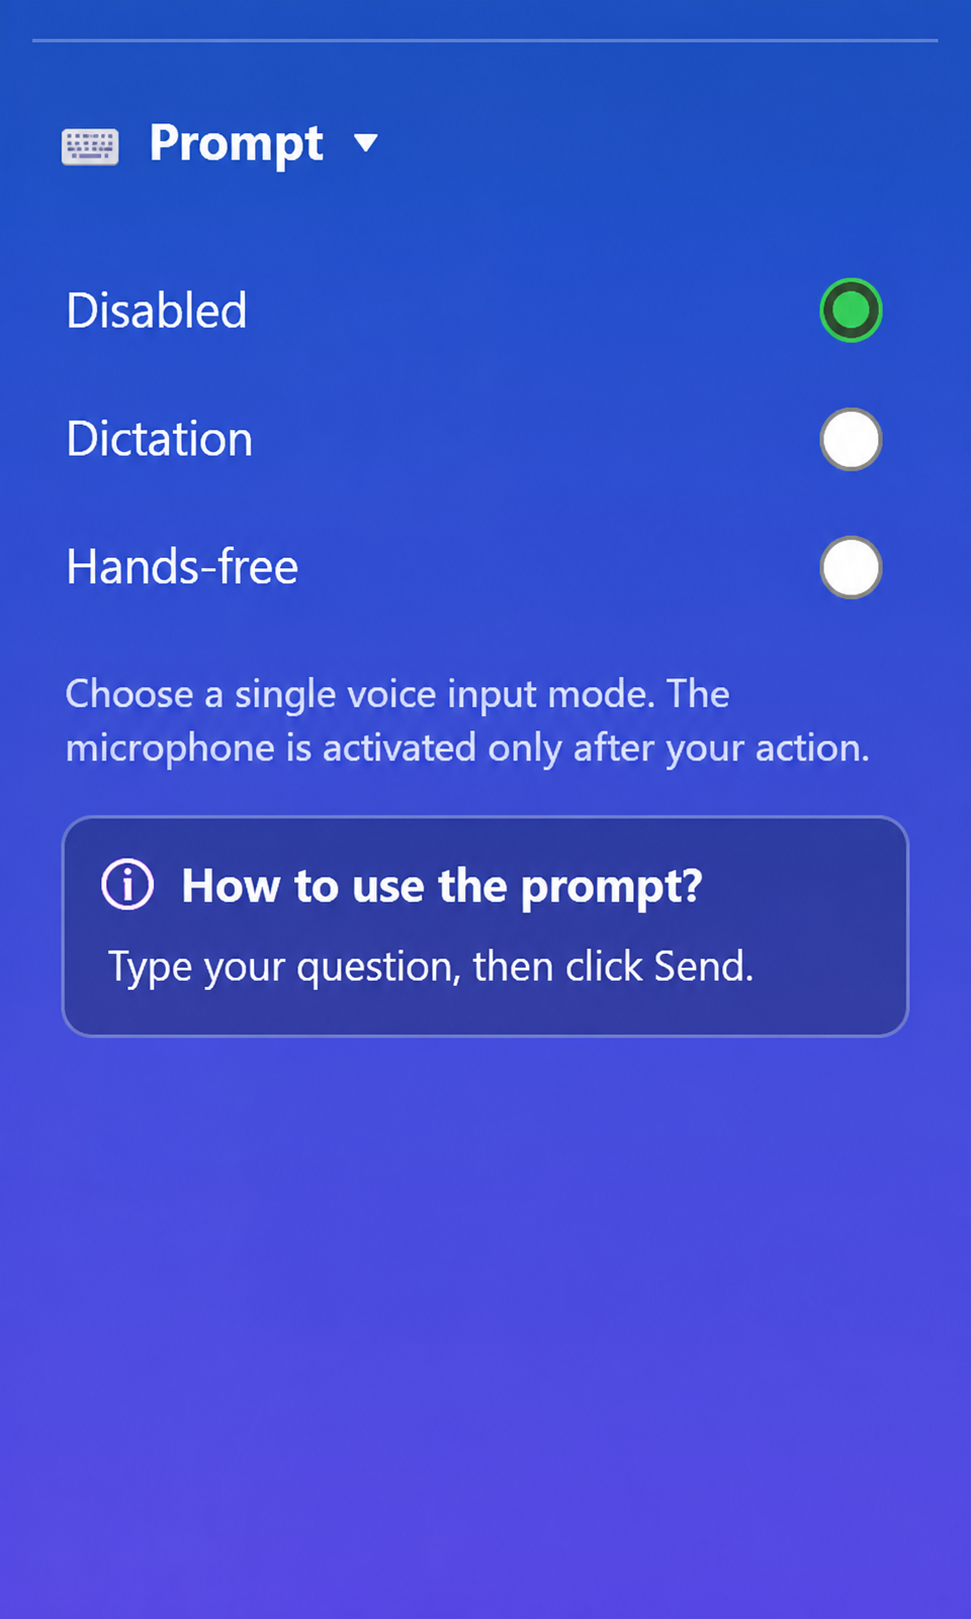
Off — keyboard input
Type your question and click Send. The prompt microphone is inactive; voice reading may remain enabled independently.
Dictation — control the microphone manually
Click Dictate, say your question and review the displayed text. Submit with Send or a standalone spoken send command. Silence does not trigger automatic submission.
Hands-free — continue the conversation
Click Hands-free once to activate the microphone and grant browser permission. Dictate your question, say the standalone send command, then wait for the tutor answer. The microphone can restart automatically after that answer, without another click. Voice commands follow the configured language.
Avoid accidental submissions
In English, a standalone “send” acts as a command. In “Can you send this document?”, send is part of the question and must not submit it. Other languages use their own supported commands.
Answer multiple-choice questions by voice
During lesson knowledge validation, say “choice A”, “letter B” or “option C”: the recognised answer goes through the relevant validation flow. In the Overall quiz, the command selects the choice but does not finish the quiz for you. Wait until any spoken playback ends before answering.
Remember: only one voice input mode is active. The Send button remains available; a spoken send command must be standalone. There is no silence-based auto-send.
Caution: an initial click and microphone permission are required. Dictation may misrecognise technical terms; check the text before sending.
Technical limitation: dictation cannot work if SpeechRecognition is unavailable or microphone access is blocked. Keyboard input remains available.
Browsers and technical requirements
Reading uses the browser’s speech synthesis; dictation uses speech recognition. Their browser support differs.
- Chrome / Edge: reference environments for voice feature testing.
- Safari / iOS, Brave and Firefox: availability and behaviour vary with version, privacy settings and device; test on the intended equipment.
- Microphone: grant site access, verify the selected input device and preferably use a secure HTTPS connection.
- Voices and languages: availability depends on voices installed in the operating system and browser. Multilingual commands do not guarantee perfect recognition.
Tip: test “Test voice”, a short dictation, a standalone send command and an A/B/C answer separately before a training session.
Caution: automatic playback can be blocked until the first click, and privacy controls may also block microphone access.
Possible blocker: if the browser refuses microphone access or does not provide speech recognition, use the keyboard. The learning features remain available without dictation.
Important information
Reusing lessons, activities and learning actions
A lesson that has already been opened can be viewed again free of charge
The lesson itself is charged only the first time it is opened. If you return to that same lesson later, no additional credits are charged, even if the lesson is not yet completed, has not yet turned purple, or the “Go further” activities have not all been completed.
“Go further” activities
Each lesson includes four activities designed to deepen learning and validate acquired knowledge.
The following three activities may use credits the first time they are used: Concrete example, Common mistake and Best practices.
Once the activity has been completed, it is marked with a green check ✓. You can then run it again as many times as needed: our conversational workspace generates a new response, but no additional credits are charged for that same activity in that lesson.
Knowledge Validation is deliberately shown with an orange check ✓ once it has been completed.
This check indicates that the validation step has been completed and contributes to lesson progress. It does not mean that future uses are free. Knowledge Validation keeps its own operating rules and its own credit usage.
When all four activities are completed, the lesson is considered fully developed and turns purple.
Additional learning actions
Some lessons also offer additional actions: simulations, deeper exploration of a process, viewing a related sheet or another generative action.
Once one of these actions has already been used, it is marked with a green check ✓. It can then be run again with a new response from our conversational workspace without a new credit charge for that same action in that lesson.
- Links, navigation between lessons and consultations that do not use content generation remain free.
- Web, Image and Video searches use their own operating rules and pricing.